How to properly test a fluorescent bulb
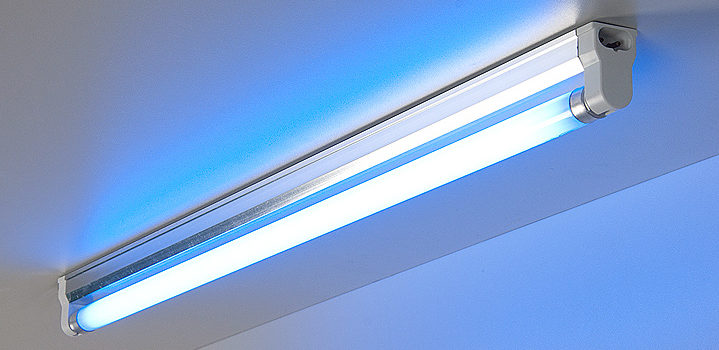
The fluorescent daylight lamp (CFL) is a popular lighting fixture. It can be used to provide lighting that can last a very long time. However, even such devices fail, and it may be necessary to check the fluorescent lamp for malfunction. Let's look at diagnostic methods.
Why fluorescent lamps burn out
Looking at fluorescent lamps, you can't help but notice their similarity to traditional incandescent lamps (LLs). As in incandescent lamps, the glow is created by heating tungsten spiral electrodes. Prolonged and intensive use leads to overheating, contact wear and failure.
In LDS, the elements are coated with a layer of active alkali metal. This solution prolongs the life of the lamp and reduces the negative effects of high temperatures. This stabilizes the discharge between the electrodes, which helps maintain integrity.

However, the coating is not eternal and is sensitive to frequent switching on and off. Gradually, the metal crumbles and the tungsten electrodes begin to contact each other. The discharge passing over them heats up the material and leads to final burnout. This can be seen on old bulbs: small blackened areas of phosphor next to the contacts.

During operation, it is important to monitor the integrity of the bulb. If there is damage, burnout will not be long in coming. If there is an orange glow on the edges of the bulb, it means that air gets inside through the hole. It is impossible to repair the element, only to replace it.
Burnout usually occurs at the moment of turning on the lamp, because it is at this stage that the contacts are under the maximum load.
Faults and troubleshooting
You can determine the burnout of a fluorescent lamp by several factors:
- the lamp does not turn on when voltage is applied;
- The lamp flickers briefly at start-up, but gradually turns into a steady light;
- the device flickers for a long time, but it can not burn to its full power;
- A loud humming noise is heard during operation;
- The bulb works, but flicker and pulsation are observed during the glow.

Complete failure to turn on a reason to check the device. But with flickering, users postpone diagnosis and repair indefinitely. It is not recommended to do this, because the pulsating glow is uncomfortable and negatively affects the vision.
A multimeter or tester with the ability to measure the resistance on the pins is required for diagnosis.
Before you start the test, make sure that the problem is with the lamp and not with the luminaire. To test, connect a known faulty bulb to the lamp.
If it is the cartridge, clean the contacts with an alcoholic liquidIf the problem is with the cartridge, clean the contacts with an alcoholic liquid, sand them down, and if necessary reposition them relative to the bulb. The problem may be a weak contact between the system components.
If the lamp is fine, the problem is in the lamp.
Also recommended to watch: How to check the fluorescent light bulb
Continuity of the electrode coils
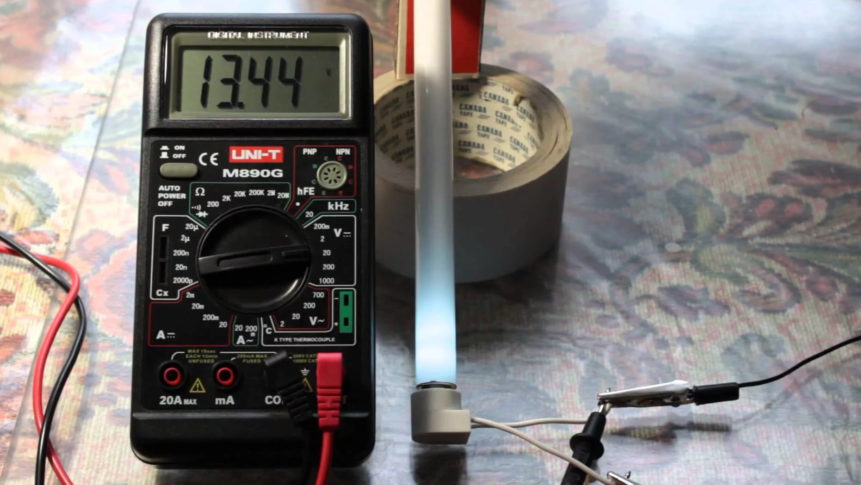
The first step in checking the bulb is to measure the resistance in the system contacts with a multimeter. Set the resistance test mode, selecting the minimum range of values. Place the styli on both sides of the lamp pins.
A zero resistance indicates that the filament between the electrodes in the inside of the bulb is broken. On a functioning device the resistance will be between 3 and 16 ohms depending on the model specifications.
The presence of even a single rupture is a reason to dispose of the old device and buy a new lamp.
Faults in the electronic ballast
Modern lighting fixtures use electronic ballasts to stabilize the voltage. It is advisable to first try to replace the ballast with a working ballast and check that the system is in good working order. If it is the cause, you can proceed to repair the device yourself.

The first thing to change is the fuse. A weak glow of the electrodes indicates a punctured capacitor. It can be replaced, but it is better to choose a capacitor with an operating voltage of 2 kV. This will give you a safety margin, since the vast majority of cheap ECGS capacitors with operating voltages up to 400V are used in the vast majority of cheap ECGs. Such elements do not handle loads well and burn out quickly.
Frequent voltage fluctuations in the network negatively affect transistors. A continuity test will show the failure of the components.
Check the ballast after repair only with the load connected, as no-load operation will quickly lead to failure.

How to check the choke
Faulty Throttle is usually expressed by the humming of the lamp, darkening of the edges of the bulb, overheating, strong flickering during operation. If any of these signs are present, the resistance element should be checked.

Checking includes steps:
- The starter is removed from the light fixture.
- The contacts in the cartridge are short-circuited.
- The bulb is pulled out of the slot, the contacts in the cartridges are short-circuited.
- The multimeter is switched on in the resistance measurement mode.
- The probes are connected to the contacts in the lamp holder. Endless resistance indicates a broken winding, a low value in the area of zero indicates an inter-turn short circuit.
Often the burnout of the choke is accompanied by the smell of burned metal and dark stains on the body of the stabilizer.
How to check the starter
If the light flickers, but does not light up fully, it is necessary to check the starter. The test can only be done by connecting the 60W light bulb and the starter in series to the mains.
How to check capacitor capacity with a tester
A capacitor problem can have a significant impact on the entire system, reducing the efficiency from 90% to 40%. The capacitor is matched to the wattage of the particular lamp. For example, for 40 W, a capacitor with a capacity of 4.5 μF is optimal.
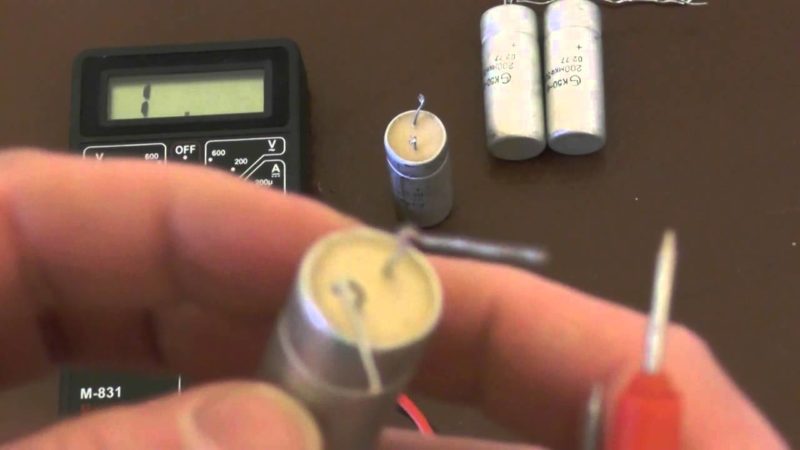
Check the capacitance with a multimeter or a tester.
Checking with a multimeter
A multimeter is a very useful tool for effectively testing lamp components. Set it to the minimum range of a continuity or resistance measurement mode.
If a specific value appears on the multimeter display when you connect the probes to the bulb pins, the lamp is fine. Lack of signals indicates a broken filament. Checking the other nodes is carried out in the same way. It is only necessary to familiarize in advance with the nominal values of resistances on the contacts and test them. Even the smallest deviation can cause a breakdown.
How to turn on a fluorescent lamp without a choke
Fluorescent light bulbs lamps can in some cases be switched in a circuit without a starter and without a choke. And it works even for failed devices, the brightness of which has become much lower than the nominal.
You can increase the brightness by replacing the contacts and turning the lamp in the socket. In this case the power is supplied as a constant voltage from a special source. Usually a double half-period rectifier with the possibility of doubling the voltage is used. All elements in the circuit should preferably be chosen with an operating voltage of about 900 V, since this is the voltage that is formed during startup.
Wiring diagram for blown lamps
Wiring diagram of a burned out bulb is shown in the picture below. The voltage passing through the circuit is rectified by capacitors and its value is increased by a doubling circuit.

Disposal
Fluorescent lamps contain mercury vapor, which is extremely harmful to humans and the environment. Therefore, simply throwing away fluorescent lamps is prohibited, as large quantities of such items in a landfill can cause negative consequences.
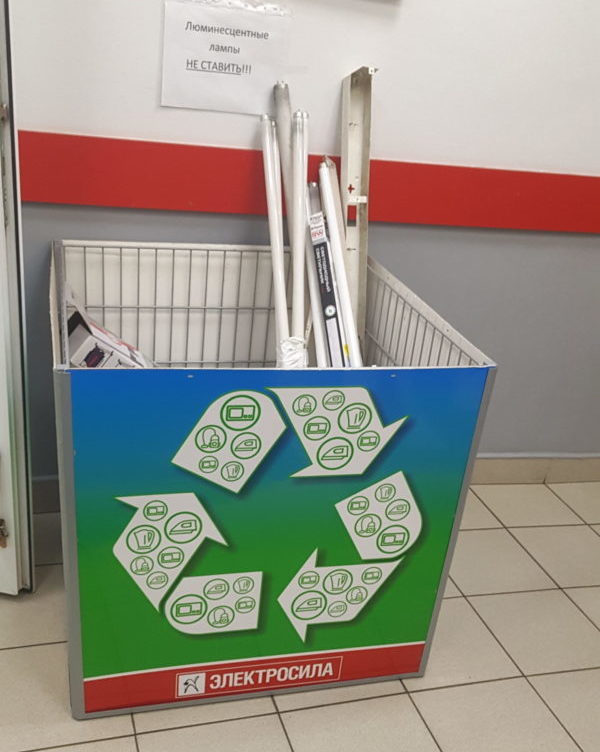
The disposal of is provided by special companies, which with the help of special equipment recycle lamps, capture harmful vapors, and use the raw material to create new lighting devices.