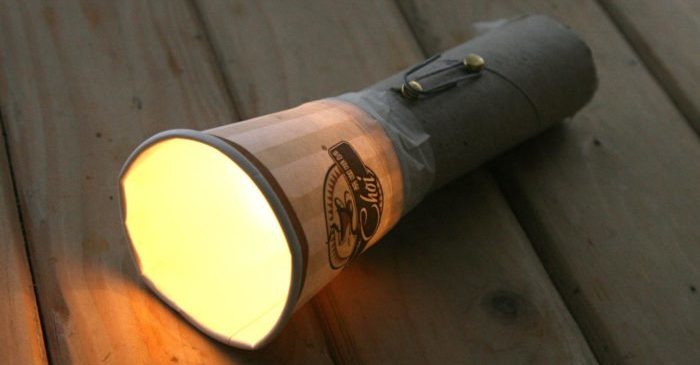
Handmade flashlight
Flashlights are very handy devices that are used to solve a large number of problems. In the economy flashlight thing indispensable and extremely important. But the user does not always have a ready-made device, so the knowledge of how to make a flashlight with your own hands will come to the rescue.
The stages of assembling a flashlight on a bright LED
The most effective are considered homemade flashlights on super-bright LEDs. They are characterized by reliability, convenience and low power requirements. To make a homemade flashlight work for a long time, we recommend observing the stages of assembly.
Drawing and scheme
The usual schemes of flashlights with lamps are energy-consuming and inconvenient. They are not able to provide the necessary light flux and do not have a long resource. To get rid of the disadvantages will help schemes for diode light sources.
When developing a circuit of a flashlight with a super-bright LED, take into account that it is powered by two AA batteries or rechargeable batteries. The DFL-OSPW5111P LED with high brightness, white shade and operating current of 80 mA is the best.
To stabilize the voltage and prevent flickering, a ready-made ADP1110 chip is built into the circuit which is capable of operating with batteries of 2-12 V. It has three voltage outputs: 12 V, 5.5 V, 3.3 V.
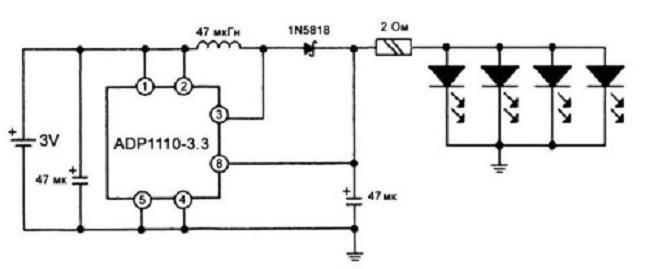
From batteries or rechargeable batteries the current flows to a high capacity capacitor and the covers of the ADP1110 chip. As power sources you can use batteries "tablets".
Ripple limitation is provided by an inductor coil and a Schottky diode. The diode creates a barrier effect at the transition from metal to conductor. The direct resistance in this case is very small, which increases the response time.
Selection of tools and material
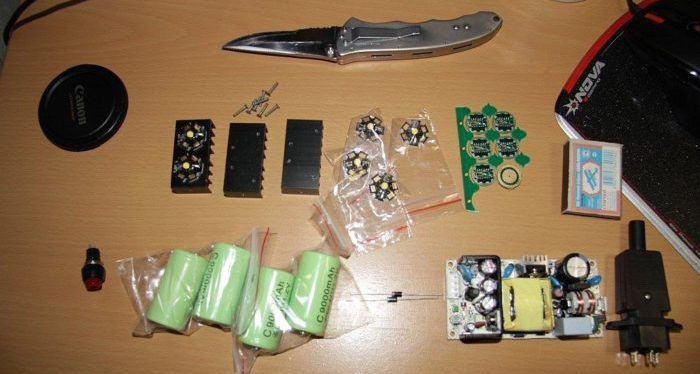
To make a flashlight with LED sources yourself, you will need:
- Batteries. These can be flat "tablets", AA-type blocks or other power sources.
- A "pocket" for installing batteries. When working with "tablets" the best solution is a "pocket" dismantled from an old computer motherboard.
- Bright LEDs. The number and size will depend on specific requirements.
- Lenses for the LED, to scatter light or focus into a single beam.
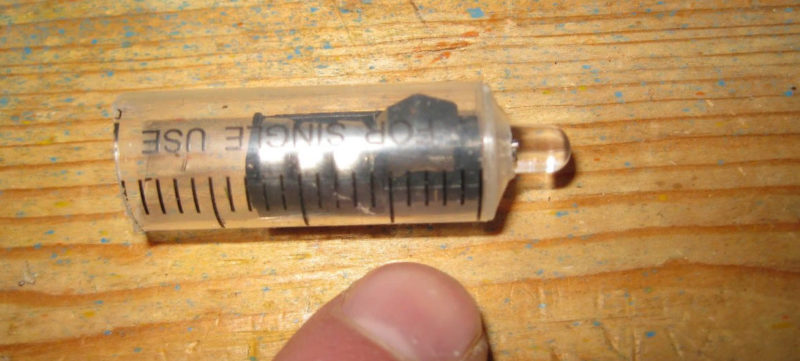
- Flashlight housing. This can be a plastic container, an old syringe, or any other safety-appropriate item.
- A switch that will be used to energize the diode.
- A voltage stabilizer. This can be a ready-made module from other electrical appliances or a set of parts for self-assembly.
- Glue. You can use liquid nails, epoxy or standard superglue as a bonding compound.
- Wires to connect the elements of the design into a circuit. It is better to choose copper cables with the best conductivity.
- A knife or scissors to cut the wires.
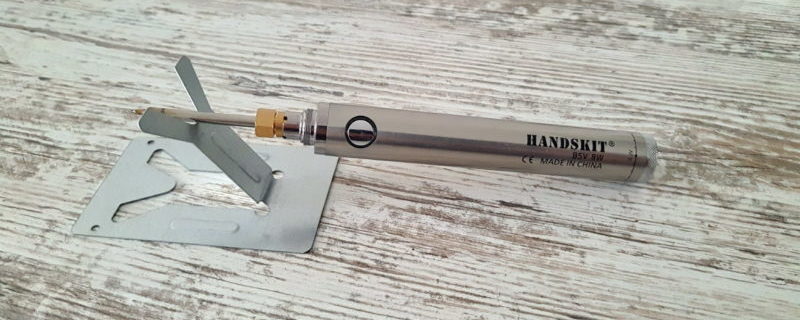
To apply the glue conveniently, you can use a syringe or a special gun for dispensing viscous substances.
Assembling a homemade flashlight involves working with electrical circuits, you will need a soldering iron and solder.
Flashlight assembly
Assembly steps:
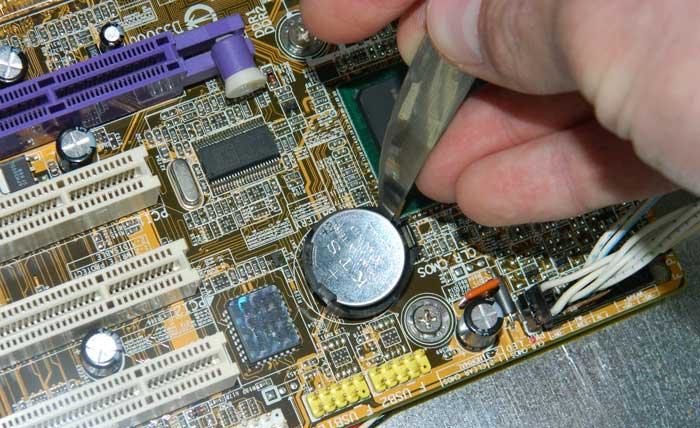
- From the old computer motherboard you need to remove the battery pocket, using a soldering iron to carefully disconnect all the pins from the chip. Too much force can damage the pins and make it difficult to assembling design. If other power sources are selected, the mounting pocket must be removed from the corresponding devices.
![Figure 4: Removing the battery pocket from the motherboard.]() Remove the battery "pocket" from the motherboard.
Remove the battery "pocket" from the motherboard. - Solder the power button to the plus pin of the pocket. Copper wires are used for the connection.
- The foot of the LED is also soldered to the second contact of the switch.
- The second leg of the LED is connected to the minus pole of the pocket.
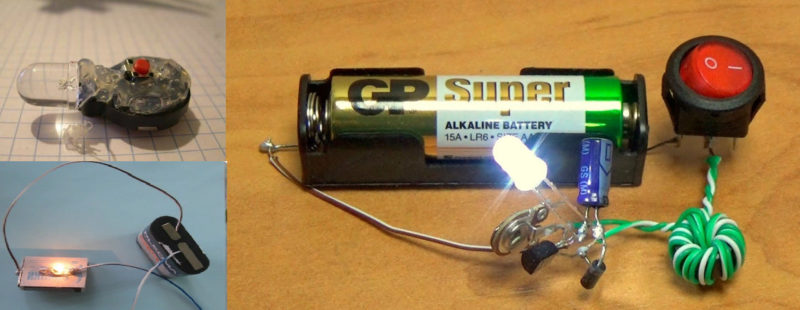
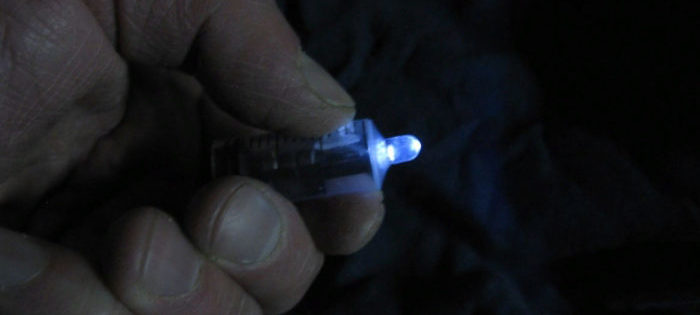
As a result, we will get an electric circuit, which will be closed when the switch button is pressed. To test the circuit, insert the battery in the pocket and press the switch. The LED should light up.
To make the circuit strong enough, it is recommended to fill the joints with hot glue. Now you need to assemble the design by placing all the elements in the casing and fastening them in their proper places. The housing can be the shell of an old flashlight or a plastic container. Assembled in this way, the lamp does not take up much space and copes with its tasks perfectly.
To avoid problems with overheating, it is recommended to install a small aluminum heat sink on the LED.
For a uniform glow without ripples, you will need to integrate a voltage regulator into the circuit. It is better to use off-the-shelf microcircuits, in series connecting to them the appropriate wires from the power supply and diodes. Sometimes it is enough to install an additional resistor or capacitor for stabilization.

How you can use a homemade flashlight
A homemade flashlight can be used for a variety of purposes. It all depends on its size, design and power. A portable pocket flashlight helps to illuminate the desired area in the event that the inclusion of stationary sources of light is not possible.
Household flashlights are widely used in the work on garden plots, when illuminating closets, basements or other rooms with a total lack of light. They are also actively used when inspecting a car from the inspection pit.
You can make yourself not only portable, but also a powerful stationary LED lantern, which is easy to install in a suitable place. It is desirable to take into account the possibility of connecting to the device power from the general power grid.
Video: Rugged reliable underwater flashlight with a powerful beam
When working with LEDs, it is important to consider their features. Because of the uneven voltampere characteristics and unstable voltage, users often opt for traditional lights. However, the stabilizer allows you to eliminate the drawback.
It is better to assemble devices that can work from one or two batteries of popular types. Too rapid consumption of batteries will be an indication of assembly errors. LEDs are energy efficient, which means that the batteries should last a long time.
Making your own flashlight is not as difficult as it seems. All tools and materials are available, and assembly does not require specific skills. It is enough to have an understanding of how electronic circuits work and have soldering skills.