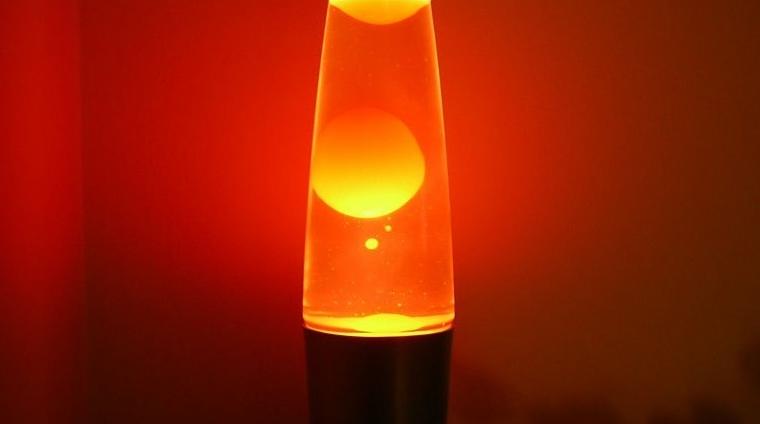
How to make a lava lamp at home
A lava lamp with your own hands is much easier than most people think. Knowing the principles by which the device works, and using the right materials, you can achieve the same results as in off-the-shelf products. Moreover, you can do the light in different ways, the main thing - to study the features of each type and choose the one that suits you better.
History of Invention
The authorship belongs to the British engineer Edward Craven Walker, who noticed an interesting effect observed when mixing oil and paraffin. When the mixture was heated, the paraffin rose bizarrely upward. The invention was named Astro Lamp and patented in 1963.
In 1965, businessmen from the United States, seeing an unusual lamp at an industrial exhibition in Germany became interested in it and acquired a patent. Products began to be manufactured in Chicago and called Lava Lamp. It enjoyed enormous popularity and today is associated with the period of the 60's.
How to make a lava lamp yourself: step by step instructions
There are three basic options that can be made at home. Each has its own specifics, so you have to base it on how the lamp will be used.
Lava lamp with oil balls
To make a lava lamp of this type is not difficult, but it is necessary to carry out the work with the observance of safety techniques. The stand and the container itself should not overheat, so when making it is worth observing a number of recommendations:
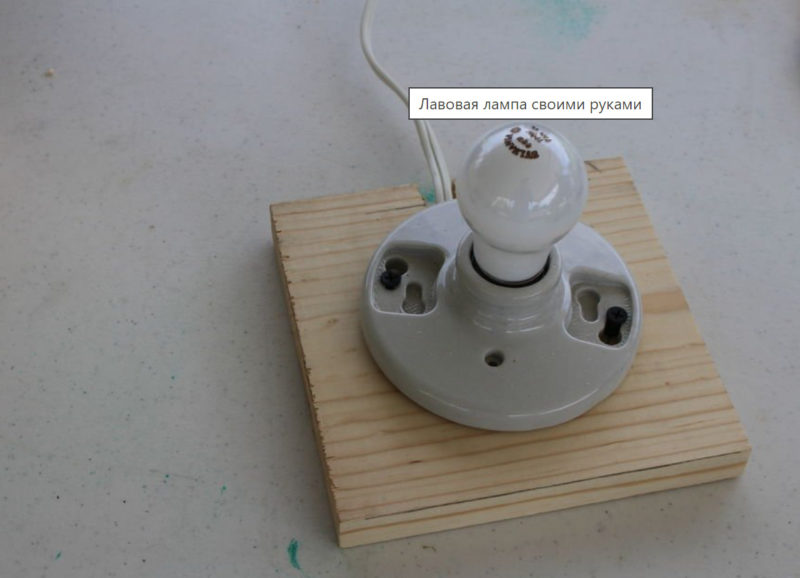
- First of all, the base is made, its size is selected under the container, which will be used in the lamp. You can make the construction with your own hands, using wood, plastic, or metal, or pick up a ready-made solution, if there is one at hand. Another option is to adapt a ceramic pot, it is good because it is not afraid of overheating.
![How to make a lava lamp at home]() The base for the future lamp.
The base for the future lamp. - Inside it is necessary to fix a socket for the incandescent lamp of 25 watts. You need this option, as LED and fluorescent light sources do not warm up. It is easiest to use a plate or hangers for drywall to mount the lights.
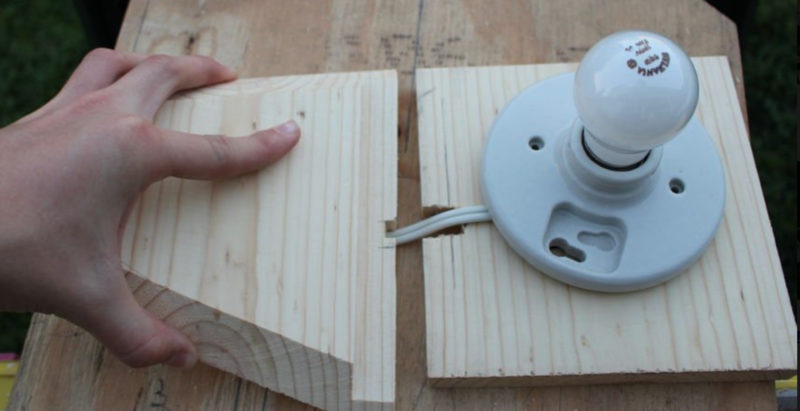
- Think about how the wire will be wired, you can make a hole anywhere in the base. Then the system is assembled and tested. To do this, the lamp is turned on and left for half an hour to make sure that the base does not overheat.
![How to make a lava lamp at home]()
- A piece of rubber is glued to the top of the stand for stability of the vessel, which should be cylindrical or conical in shape.
- A mixture of distilled water and alcohol is poured inside the vessel. In a separate container, castor oil is dyed (use a food coloring of any shade). The water can also be dyed.
- The oil is poured into the vessel, if it does not sink to the bottom, you need to add alcohol. The lamp is turned on and its operation is checked. It is possible to change the speed and character of the oil movement by changing the proportion of distilled water and alcohol.
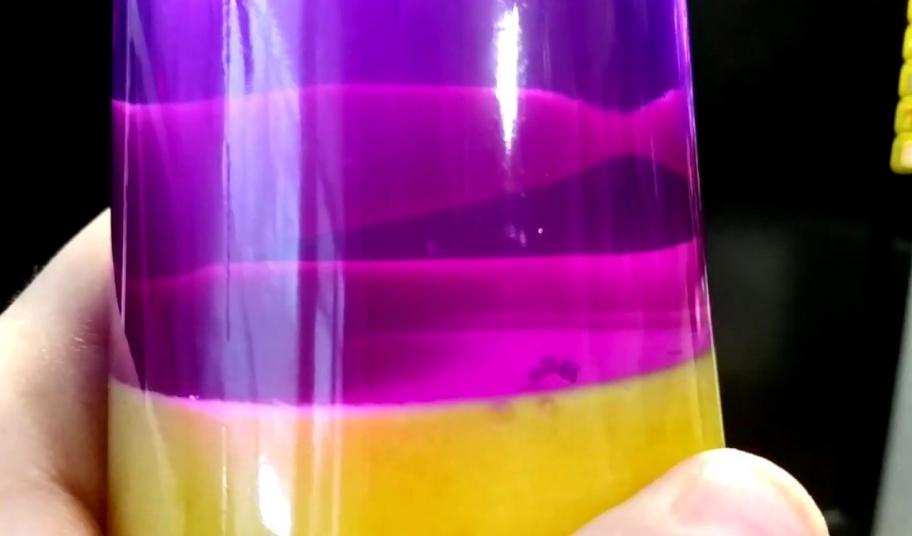
![How to make a lava lamp at home]() As the oil heats up, it begins to move upward.
As the oil heats up, it begins to move upward. - When the mixture has optimum characteristics, you must close the container. It is best to use a glass or plastic lid of suitable size. It is placed on the sealant to prevent evaporation of water. In addition, if you later need to drain the liquid, the sealant is not difficult to cut off with an ordinary knife.
- The container is also glued to the base using sealant. Simply apply a small amount of composition and press the bottom firmly. It is not allowed to move it until the silicone hardens.
The container must not be filled to the top. When heated, the liquid increases in volume, so you need to leave a small reserve.
Video lesson: 3 methods of making lava lamp.
Lava lamp with paraffin
This solution is different in that the effect will be achieved by melted wax or paraffin. This solution creates whimsical shapes that are different each time. The work is carried out as follows:
- The base is selected or made according to the same recommendations as above. It is necessary to make an element that provides a strong fixation of the socket with the bulb in the right position and at the same time will not overheat much during prolonged operation.
- The container should be conical or cylindrical, you can adapt any variant of suitable size. It should be thoroughly washed and dried before use.
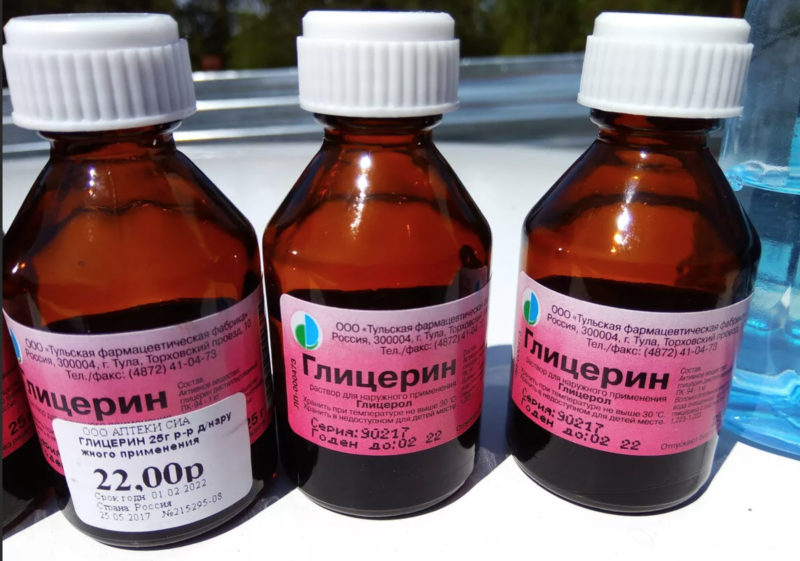
- Distilled water at room temperature is mixed with glycerin, it can be bought at the drugstore. The composition is poured into the prepared container so that it fills about 3/5 of the volume. If desired, the water can be tinted with any dye - from special compositions to ordinary ink.
![How to make a lava lamp at home]() The cost of glycerin is quite low.
The cost of glycerin is quite low. - 1-2 teaspoons of salt is added to the mixture, depending on the volume. It is necessary to stir the composition until the crystals completely dissolve. After that, beads are added (they will give a decorative effect), but you can not use them.
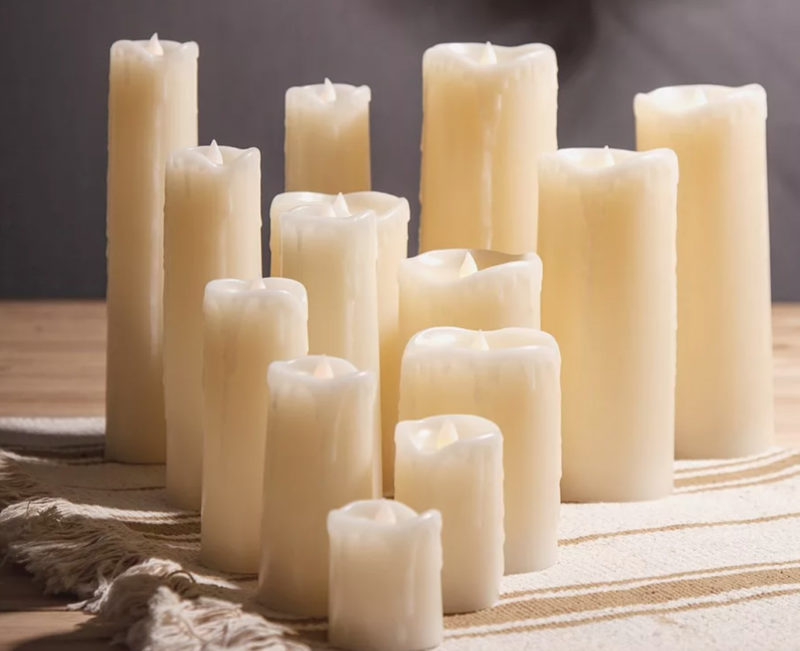
- Paraffin is melted to a liquid state in a water bath. At home, it is easiest to put one pot in the other and gradually heat it. After melting, a dye of the desired color is added. The intensity of coloring depends on the amount of pigment, it is better to add it gradually.
![How to make a lava lamp at home]() Paraffin is the basis for the production of candles.
Paraffin is the basis for the production of candles. - The upper part should be sealed hermetically. Sealant or any other composition is used for this purpose. After drying, the lid is checked - you just need to turn the container over. If everything is normal, it is glued to the base.
You can change the degree of heating of the liquid by bringing the light bulb closer or farther away. But it should not touch the bottom.
Recommended for viewing: Lamp from available means: oil, salt, water.
Chemical lava lamp
This version differs from the previous ones in that in it the bubbles rise not due to heat, but due to a chemical reaction. Such a lamp does not work very long, but it can be made as an experiment together with children. The work is done like this:
- The easiest thing to use is an ordinary half-liter jar. It does not need to be prepared, the main thing is to wash and dry it well. A tablespoon or a little more baking soda is poured on the bottom and evenly distributed on the bottom.
- Vegetable oil is poured into the jar, this is done carefully so as not to erode the baking soda on the bottom and not to move it to one side. It should fill the container almost to the top, as this is the main component.
- Vinegar is poured into the cork from the bottle and dyed with any food coloring. The brighter the color, the better the effect, so you do not need to spare the pigment.
- It is best to put the jar on a small LED light or illuminate the bottom with a flashlight. This way the view will be much better.
- Vinegar is gently poured into the container. You can enjoy the sight of the colored bubbles rising up and then gently dropping down.
The process can last from a few minutes to half an hour. It is based on the fact that when baking soda reacts with the vinegar, carbon dioxide is released, which lifts the bubbles up. When the vinegar reaches the surface, the carbon dioxide evaporates and it settles back to the bottom.
Mini Lava Lamp Workshop for Kids.
Features of Use
Lava lamps are different from conventional light sources. Therefore, when using them, you need to remember a few important points:
- The surface of the base can get very hot during operation. Therefore, it is better to place the lamp where small children can not reach it.
- It takes time for the lamp to start working. Until the paraffin or oil warms up, there will be no effect.
- It is better not to keep the equipment on for more than a few hours. And you should not leave it running if no one is home.
You can also make an original lava lamp with your own hands, if you gather everything you need and follow the instructions. The main thing is to follow the recommendations and use quality components. Particular attention is paid to the tightness of the corking, otherwise you will have to frequently refill the water.