How to make a phytolamp for plants with your own hands
Make a phytolamp with your own hands is not difficult, if you understand the features well and pick components with suitable characteristics. Different types of lamps can be used for work, depending on your preferences and desires. They all give a good effect when used correctly.

Why plants need light
Almost all plants grown at home need extra light for these reasons:
- Crops need sunlight for an extended period of time for normal photosynthesis and metabolic processes. Thus, for tomatoes the light day should be 14 hours, for cucumbers - from 13 to 15, for peppers 9-10. For houseplants, the periods are selected by reference books. Since the light day in winter is short, it is necessary to additional lighting of all crops.
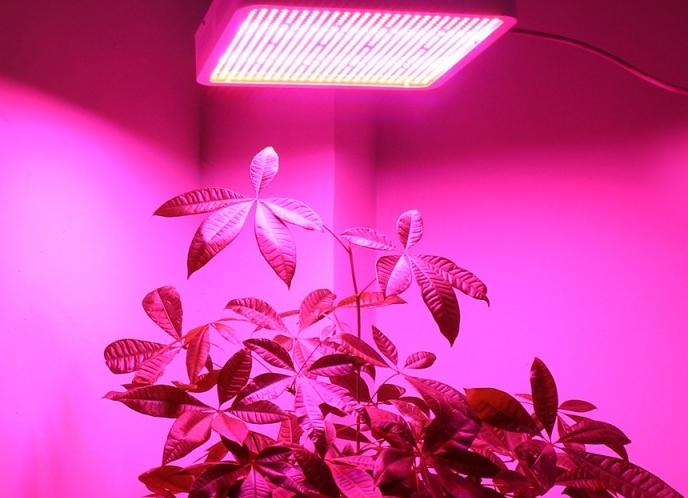
- Phytolamps selected such a spectrum that is necessary for plants. Nothing unnecessary - only what is needed, so the predominance of blue and red radiation. Constant extra light will improve growth, disease resistance, and yields.
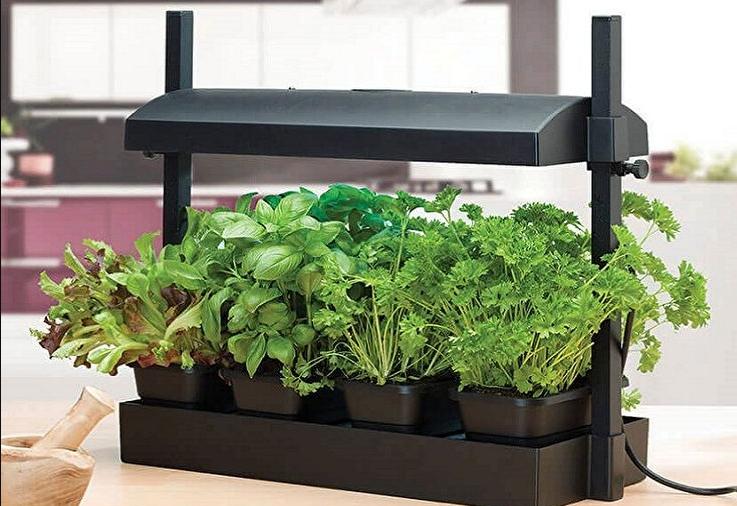
If you replace the factory-made phytolamp for plants with a homemade version, you can save a lot of money.
The main options and their features
For home use, it is worth choosing one of two options, as they have proven to be the best and can be purchased in most stores. Features of each type:
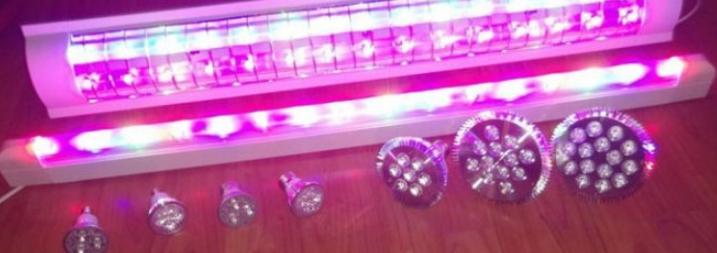
- Fluorescent light sources. A time-honored type that was the only one a couple of decades ago. Can be either tubular or under a standard E27 socket. The power of light is not very high, but the lamps are not heated during operation and provide optimal performance. Service life - no more than a year because of the burnout of the phosphor and distortion of the spectrum.
- LED options allow you to choose the optimal emission and its power, which will simplify the manufacture of homemade phytolamp. At the same time diodes consume the least amount of electricity, have a long service life, during which the spectrum is virtually undistorted. Products are easy to install, they do not heat up much when working and pose no danger to humans, since they operate from a low-voltage power supply.
How to calculate the optimal parameters of the lamp
It is impossible to give an exact instruction, since each plant has its own preferences and light standards. But if you consider a few simple tips, you can pick up the parameters without any problems:
- Lighting rate For a particular crop. You can find the values in crop guides as well as on specialized resources. You can simply type the query into a search engine and study the results.
- The location of the plants. If they are on a window sill on the south or east side, they will get as much natural light as possible. If they are in the back of the room or on the north or west side, more light will be needed.
- Calculation of the illuminated area is most often determined by the size of the vessel. It also depends on the type of lamp, for variants under the cartridges illuminated circle, for ribbons and tube fixtures calculations are made under a rectangle.
It is important to properly select the height of the lamp location - the greater it is, the larger the area illuminated, but the lower the efficiency. For ideal results, it is necessary to place the lamps at a height of 20 to 30 cm.
Making phytolamp for seedlings from LED strip
Phytolamp from LEDs with their own hands - the optimal solution for today, which is the easiest to implement. The work is carried out according to the following instructions:
- Red and blue LED strips are purchased. Or you can immediately order a variant for the plants, in which the desired LEDs alternate, such are sold on Aliexpress and specialized sites.
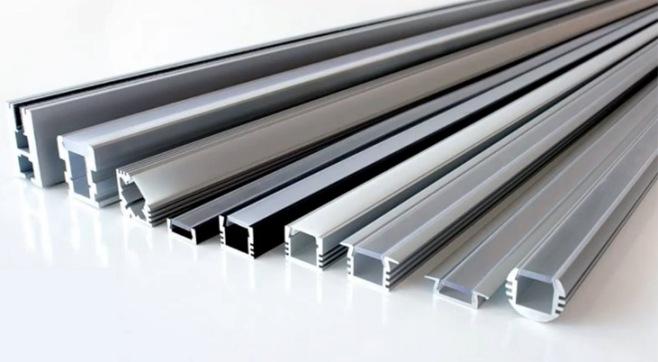
- You will also need a special aluminum profile, it serves as a reflector and heat sink to cool the diodes, sold in electrical stores. The power supply, connection cable and plug are a must. A soldering iron, knife and other tools will be needed for the job.
![aluminum profile options]() Different variants of the aluminum profile
Different variants of the aluminum profile - To install at the right height, it is worth thinking about the bracket, you can adapt any suitable solution or make two racks with slots to insert the aluminum profile at the right height.
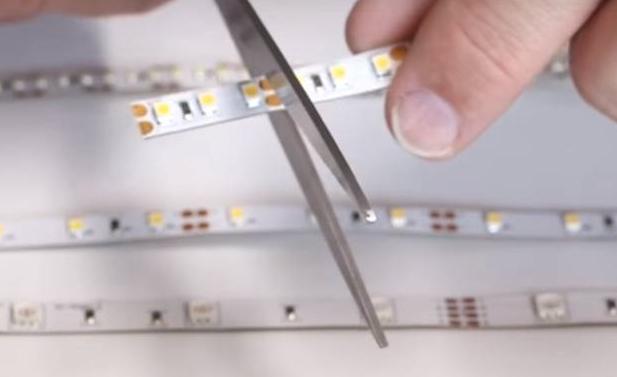
- Cut the LED strip into pieces of suitable size. In this case, you can cut only on the specially marked areas, it is important. Then the strip is glued to the aluminum base due to the self-adhesive layer.
![Tape cutter]() You can cut only in the specified places.
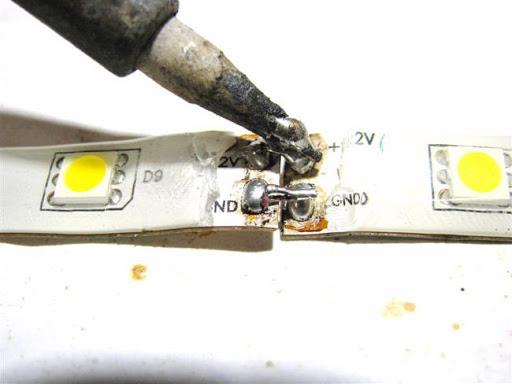
You can cut only in the specified places. - Next, the contacts on the tape are soldered to the cable, it is best to use a two-core copper version of the appropriate cross section, its ends are preliminarily stripped. Wires are placed on the contacts and carefully soldered, it is important to ensure reliability. When the work is complete, a piece of heat shrink tubing is cut off, put on and heated so that it fits tightly around the joint.
![How to make a phytolamp for plants with their own hands]() Wireless soldering of different parts.
Wireless soldering of different parts. - The power supply is connected, most often you also need to solder the wires. After that, the operability of the lamp is necessarily checked. If everything is normal, it can be put in place and used as intended.
As an option, you can use the body from the lamp with a reflector, in which the strip is placed, wound on a tube of suitable diameter.
How to make a phyto lamp of ordinary fluorescent
You can also use fluorescent lamps. In this case phytolamp for plants is done as follows:
- First, you have to choose the bulbs that will be used. These can be tube versions or models under the cartridge. Based on this, the rest of the accessories are selected - either mounts for the tubes (or better a lamp with a reflector), or a socket with a plafond. You also need a cable, preferably in good insulation, and a power plug. You can immediately connect it to a piece of wire of suitable length.
- Then you assemble the system, to do this, the cartridge or lamp should be connected to the ends of the pre-cleaned cable. The connection is made through a special bus, you do not need to invent anything. It is important to ensure reliable contacts and avoid short-circuiting the bare wire ends.
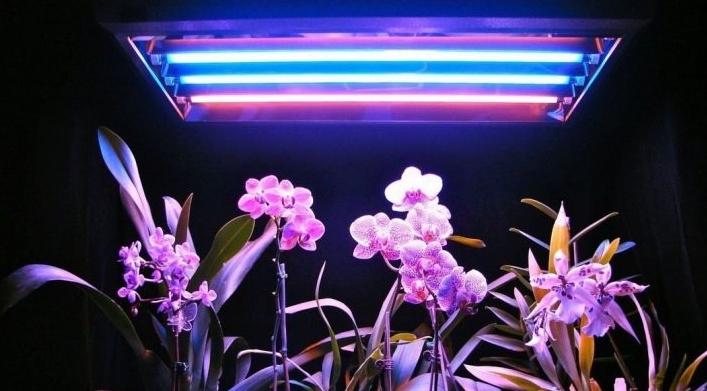
- The design is mounted on a suitable bracket, for this you can adapt any improvised elements of suitable size. Ultraviolet light is ideal for seedlings, so it is most often used for this purpose.
Fluorescent bulbs have a short life, so they need to be replaced periodically. The exact timing is indicated on the packaging or in the accompanying sheet.
Thematic video:
It is not difficult to assemble a phytolamp with your own hands, if you pick up light sources and correctly calculate their power for a particular plant. The main thing is that the spectrum is dominated by blue and red colors, and the distance from the fixture to the plants was not too big.