Step by step instructions for making a light fixture out of isolon
A rose light fixture made of isolone with your own hands? It can be made by almost anyone. Spending a little time to study the instructions, and, in fact, on the work itself, you can make a unique decoration for your interior. It will also be useful to get acquainted with the properties of the material and alternative versions of the figures.
Features of Isolon
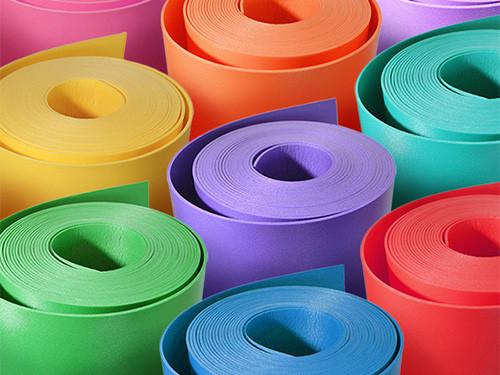
Isolon - a special kind of polyethylene foam, which has either a porous structure with many cells, or sewn together. The main function of the material is thermal insulation. It perfectly retains heat inside the house, does not take up much space and is easy to use.
Performance characteristics
The high popularity of Isolon is explained by its performance characteristics:
- Provides good sound insulation.
- Does not get damaged under the influence of different temperatures.
- Does not absorb moisture.
- Does not emit harmful substances when heated.
- It has a high tensile strength.
- Elastic.
The material is used for insulation of balconies, walls, floors. It is also used in mechanical engineering to protect metal elements from rust.
Pluses and minuses of the material
In addition to applications in construction, repair and industry, the properties of the material ensured its popularity among craftsmen. Often with their own hands make a lamp from isolon, and it is not a trivial rectangular design, and complex figures in the form of flowers.
The advantages of using isolon:
- The material is protected from steam and moisture;
- high elasticity and ease of cutting to create shapes;
- service life up to 100 years;
- full environmental friendliness;
- easy to connect the elements with each other with adhesives;
- the possibility of painting in any color.
Disadvantages:
- not all types of Isolon are suitable for large products;
- can be damaged during transportation;
- in its unpainted form attracts dust, so it should be stored in plastic bags.
Often the disadvantage of insulation is its cost. But this is relevant only for issues of use as insulation for large areas of walls, floors, etc. To create a flower will require little material and will cost inexpensive.
Varieties of designs of fixtures
The versatility of the material allows you to create a variety of shapes on its basis. Using the fastening elements, you can create almost any design of fixtures.
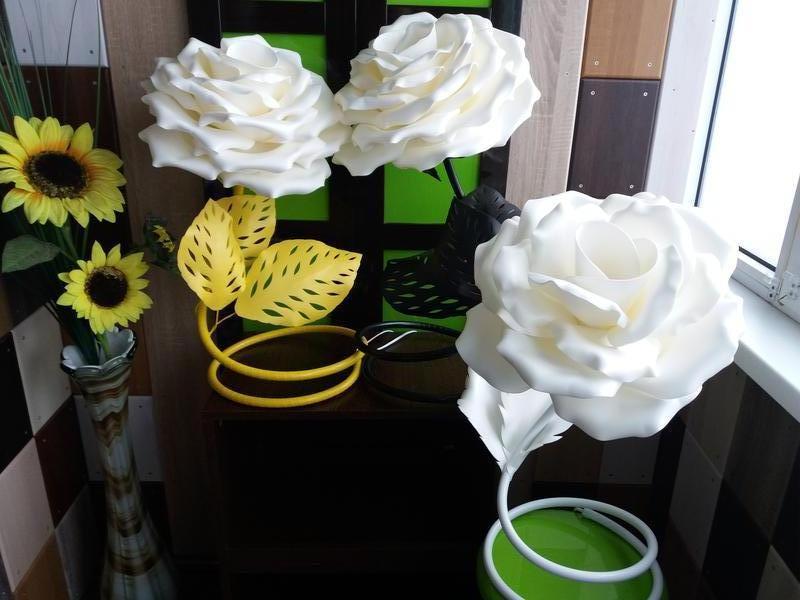
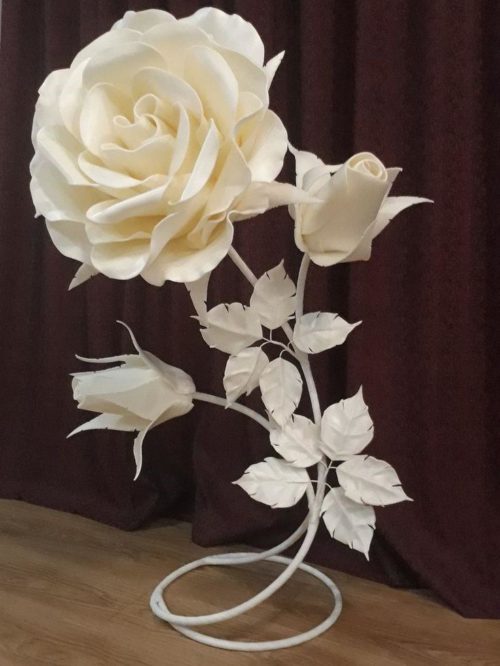
Floor lamp
In addition to the flower itself, a floor lamp made of foam isolon requires a stable base in the form of a stem. Most often a tube is used for this, and a support ring is made of it. Using just the tube for hidden wires is convenient, because they can be held inside the stem. To create the leaves, you can use the same isolon.
Nightlight
Creating a bedside lamp is easier. You need to make a flower out of isolon, put a light bulb inside, make a lead and plug it into the socket. Stability of the construction can be provided by both additional base and the shape of the flower itself.
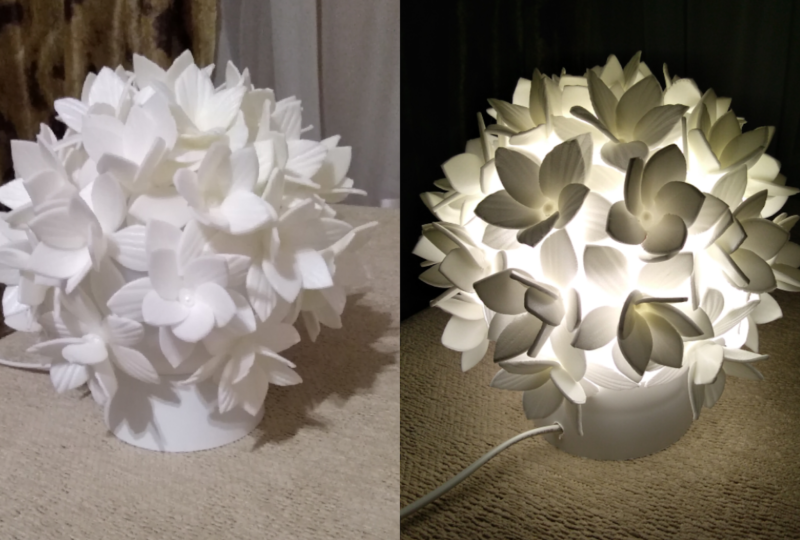
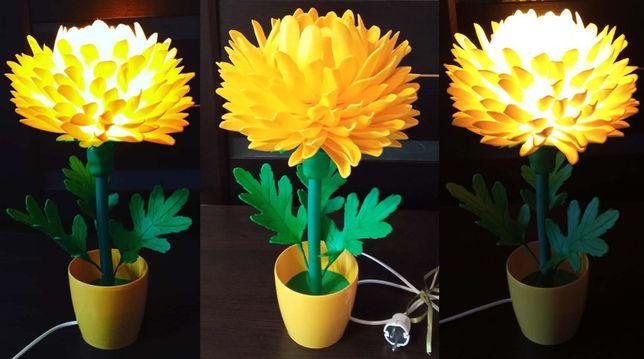
Table lamp
You can make a similar version, as with a rose floor lamp, but for the stem of the table lamp will require less pipe. Another interesting way is to "plant" a flower in a pot. In this case, an almost straight piece of pipe is used, which is fixed in the pot. It can be filled with gravel, sand, foam or for maximum entourage - soil.
Chandelier
For a chandelier, you need to have a lot of light, so the petals should be at a certain distance from the bulb. You need to make the base, for this you can use wire or even a plastic transparent bucket, in which you need to make a hole for the cartridge and glue it with petals.
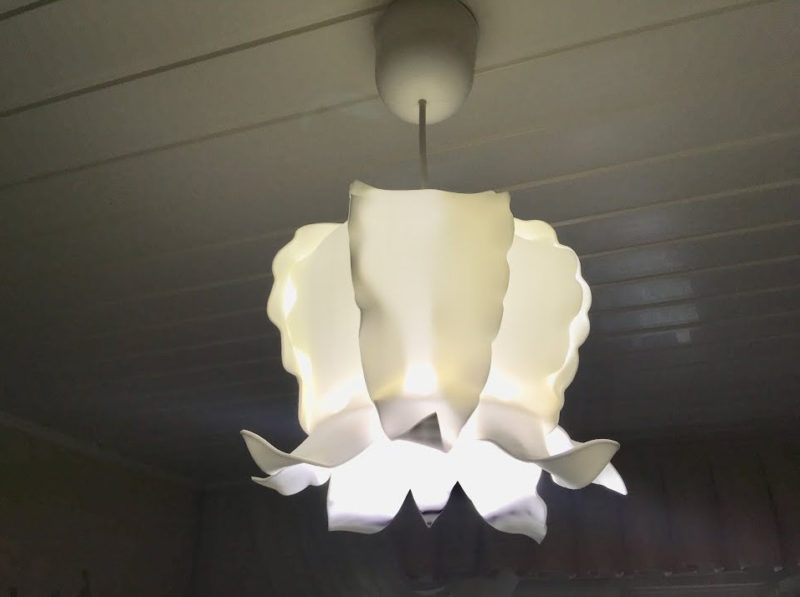
The chandelier .
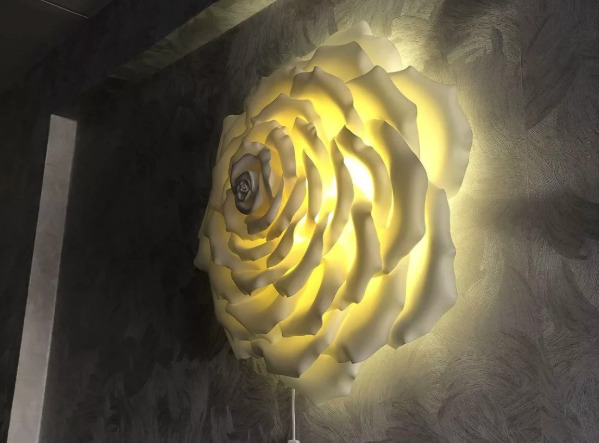
You can make a sconce in the shape of almost any flower. As with the chandelier, the base is made with a hole for the bulb and glued with petals cut out of isolon.
Varieties of flower shapes
Types of designs depend mainly on the elements of attachment or bases for stability. And the main difference is the form of the product itself of isolon, with its help you can create different flowers and even interesting compositions with dolls.
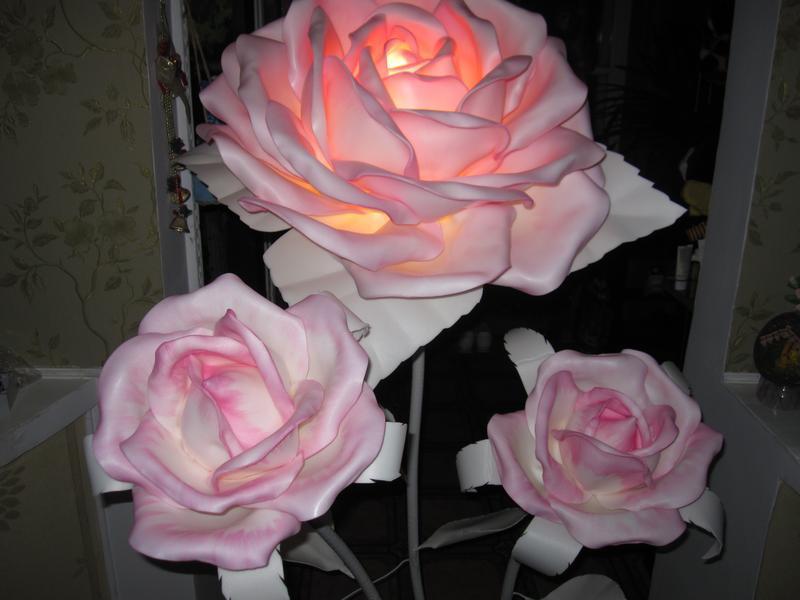
Rose
To create a rose, you will need petals of different sizes of the same shape. They are glued to the base one by one, from small - to large. To give a special shape use a hair dryer, which heats the petals, so they can bend.

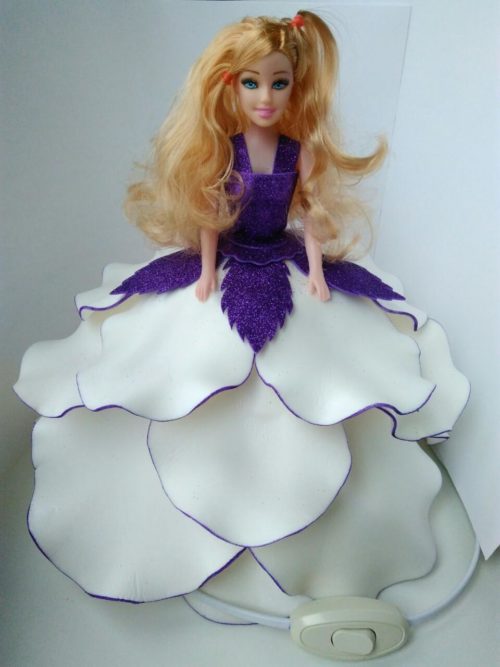
Doll
For a child's room lamp with a doll would be a great option. The figurine is installed in a waist-length plafond, subsequently the base is pasted with isolene petals. The result is a beautiful illuminated dress.
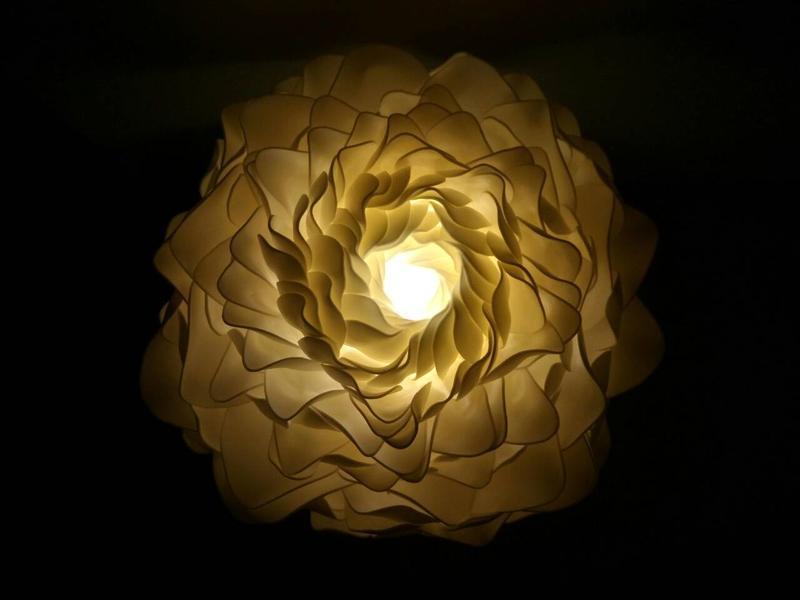
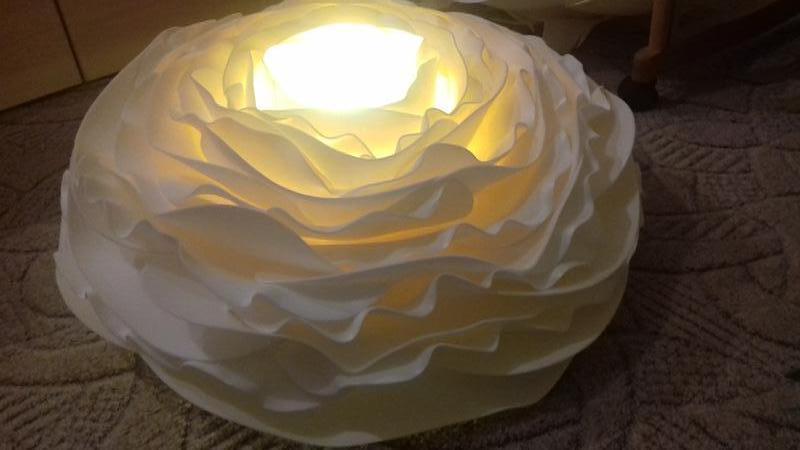
Ranunculus
The lamp is best made on a base of a round plafond. The petals in this case should have a drop-shaped shape. As in the case of the rose, small petals are glued first with a gradual increase.
Peony light.
The peony, like the lily, requires small petals, but the difference is that here you will need a lot of them. For the inside, you should not cut out each element separately, you can take a long strip of isolone, cut scallops on it, and already after that give each petal the necessary shape.
Tulip
The shape of a tulip is a good solution for a bedside lamp. You can diversify the design by creating a triple bouquet, where in addition to the main flower will be two more buds.

Materials and tools
To create a floor lamp with an isolon flower, you will need the following materials:
- Isolon, with a thickness of about 2 mm;
- a cartridge with a ring;
- electric cable;
- switch;
- pipe for the base and stem;
- bulb;
- plug;
- paint.
The following tools will be useful in the work:
- glue gun;
- scissors;
- hair dryer.

Making the blank
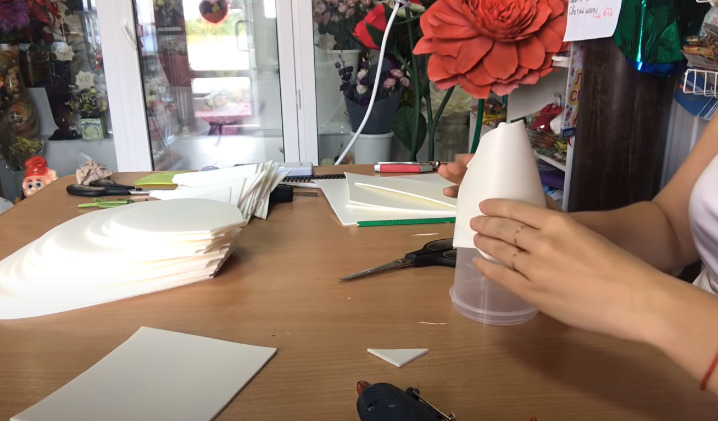
The billet of flowers-lights, although it will not be a visible part of the design, but the shape of the product and performance depends on it. It can be made by yourself.
The factory version of the plafond will also do, but there are several requirements for it: a simple shape (round, drop-shaped), the absence of drawings and decorative elements.
For self-made, the best option would be a transparent plastic bucket with a lid. Step-by-step instructions:
- It is necessary to remove the lid from the bucket. On it trace the dimensions of the cartridge.
- According to previously outlined contours cut a hole for the cartridge.
![Step by step instruction how to make a fixture from isolon]() How to make holes in the plastic lid.
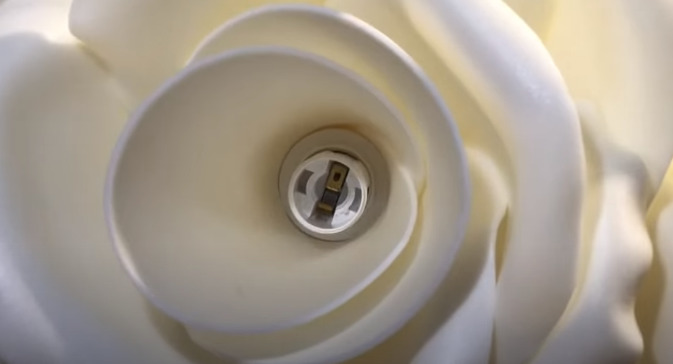
How to make holes in the plastic lid. - Inserting the cartridge, screwing in the bulb and putting the cover with the light source on the bucket.
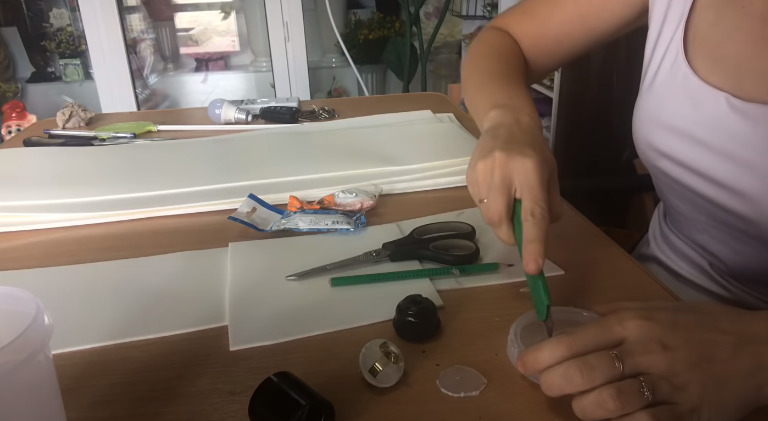
Tip! To cut in a plastic container, it is better to heat the knife first, so the material will be easier to cut, and the seams will be more even.
Create a light in the shape of a flower
The product can be divided into 3 parts: flower, stem, leaves. It is not difficult to make them, but it is necessary to clearly follow the instructions.
Bud
Fulfillment of the flower:
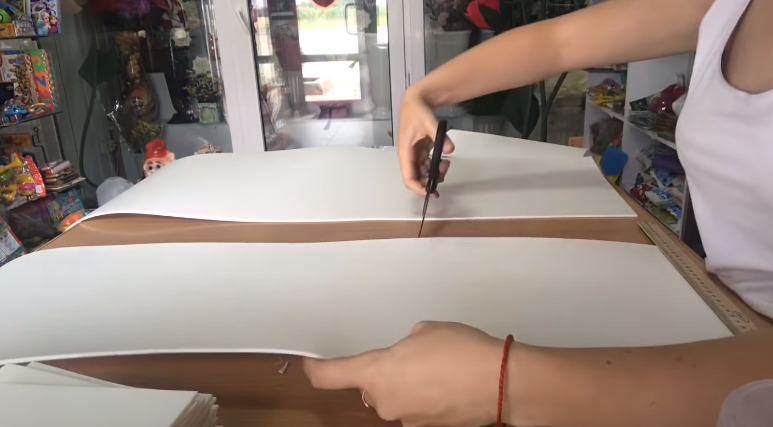
- First you need to cut blanks. It is convenient to cut square pieces of different sizes.
![Step by step instruction on making light fixture from izolon]()
- From the sliced squares are cut petals drop-shaped.
![Step by step instruction on making lamp with izolon]()
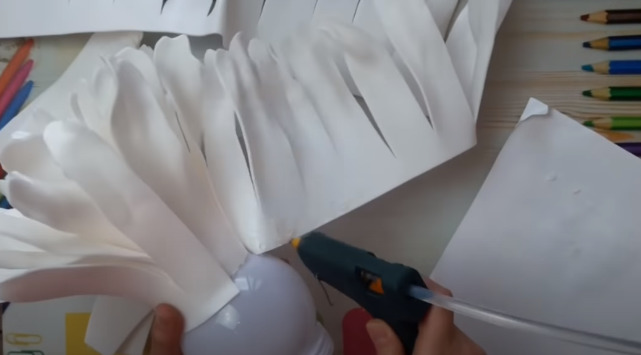
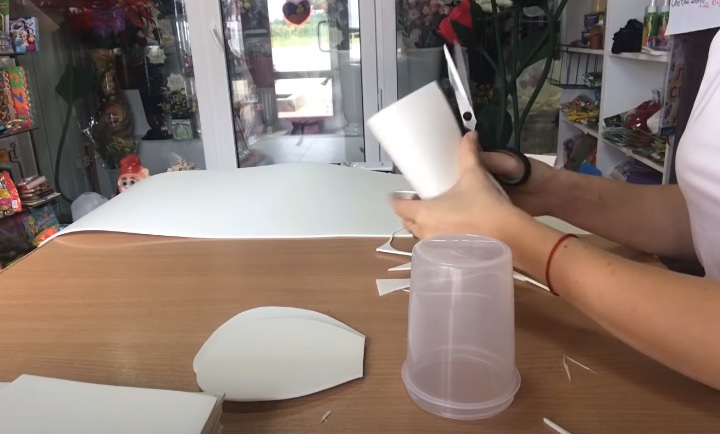
- With the help of the smallest petals, the domed structure of the bud is created.
![Step by step instruction on making lamp with izolon]()
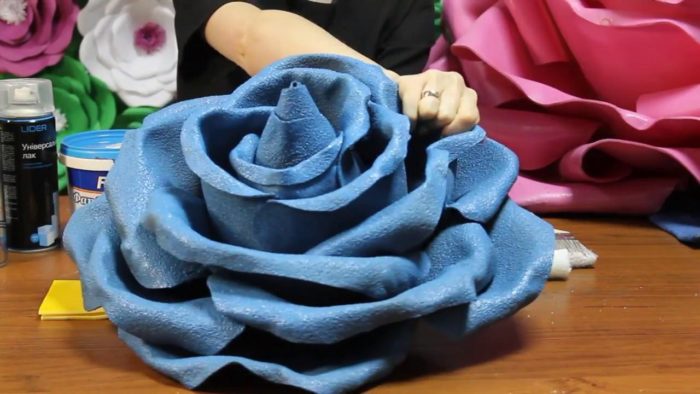
- Gradually overlapping petals are placed in larger and larger sizes. To give them a special shape, the material is heated with a hair dryer before gluing.
![Step by step instruction on making lamp with izolon]()

Video master class: Making a rose out of Isolon for beginners.
Stem and leaves
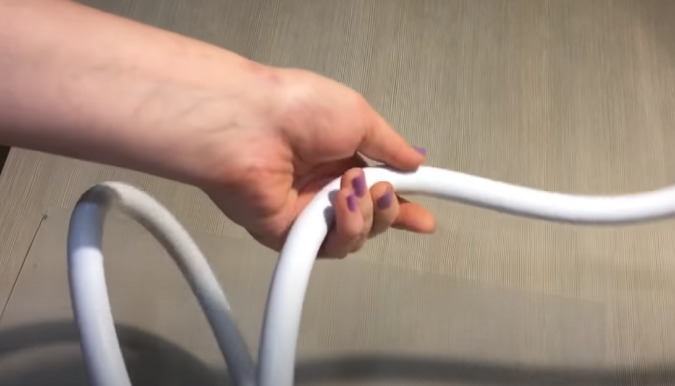
Making the stem:
- You need to buy a piece of metal-plastic pipe about 1.5 m long.
- Bend it so that a ring-base is formed at the bottom, and further in a small spiral it rises.
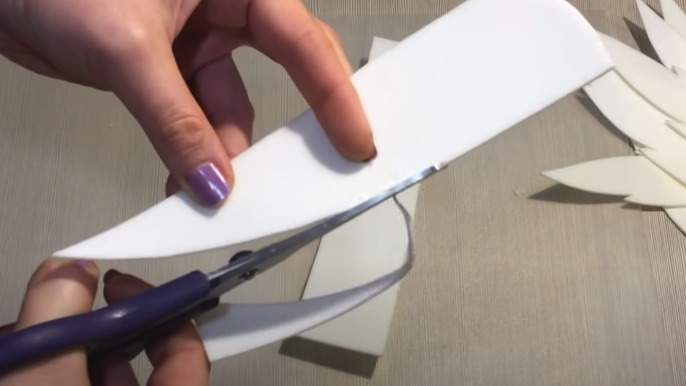
How to make leaves:
- An element with a rounded one side and a sharp second side is cut out of isolone.
![Step by step instruction on making lamp with izolon]()
- On the sides of the cut teeth (2-3 on each side).
![Step by step instruction on making lamp with izolon]()
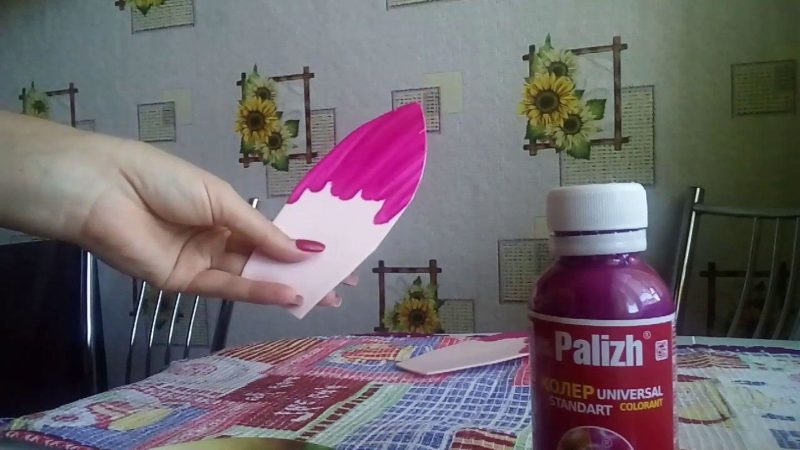
- Leaves are bent into shape by heating with a hair dryer, if necessary, painted.
- To attach to the stem, the same glue is used as for the flower.


Painting the finished product
Dyeing isolon is not always useful, because the material is sold in different colors, you can buy pink for the petals and green for the leaves. But if you choose to work with white insulation, it can be painted with 3 types of paint:
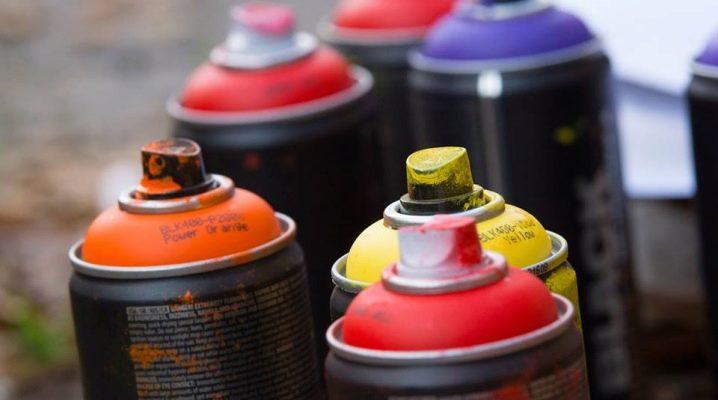
- Can .. The main advantage is that spray paint dries quickly and does not need additional equipment to apply it. However, there are disadvantages - it can crumble under mechanical impact and consumed in large quantities.
![Step by step instruction on making light fixture from izolon]()
- Acrylic enamel. Performance characteristics of such a material are better - it does not crumble, and the consumption is quite economical. To work, you will need a spray gun, it will help to apply the enamel evenly in a thin layer.
![Step by step instruction on making lamp with izolon]()
- Rubber paint. It is also better to apply it with a spray gun. An additional advantage is the resistance to different temperatures. But it should be noted that the rubber paint creates a matte surface, and for the effect of gloss will have to additionally varnish the product.
![Step by step instruction on making lamp with izolon]()
In addition to the three main options, there is another option - automotive enamel. It has good performance properties, but it is very expensive.
Tip! When using a paint sprayer, it is better to paint an already finished flower. If you do not have such a tool, the option is to paint each element separately with rubber paint and then assemble the flower.
Attaching the cord with the switch and the chuck
After creating the flower, stem and leaves, it remains only to arrange a convenient and correct connection of it to the power grid.
If there is no experience with electricity and certain knowledge in this area, it is better to contact an electrician.
Step by step performance of the work:
- Wire with a socket to pass through the top of the flower.
![Step by step instruction on making lamp with izolon]()
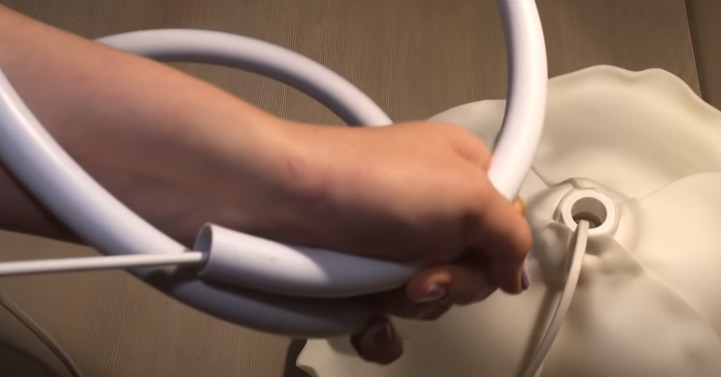
- In the next step, the wire should be passed through the pipe, which became the base and the stem. When the wire will show from the bottom hole of the pipe, you just need to pull it.
![Step by step instruction on making lamp with izolon]()
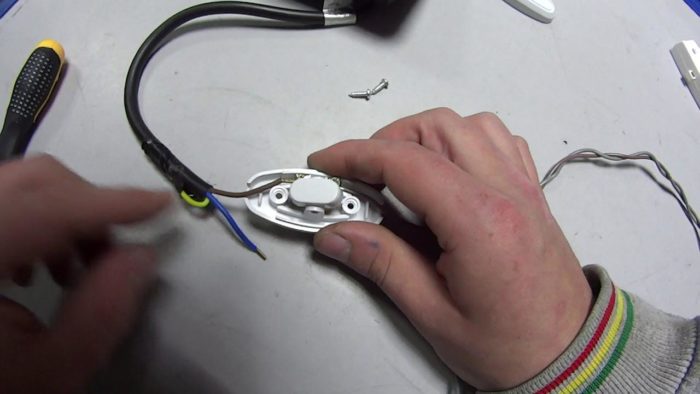
- To the protruding part of the wire on the contacts is connected to the switch type "sconces".
![Step by step instruction on making lamp with izolon]()
- A plug is attached to the edge of the wire.
After the plug can safely insert into the socket, turn the switch to the active position and enjoy the bright light.
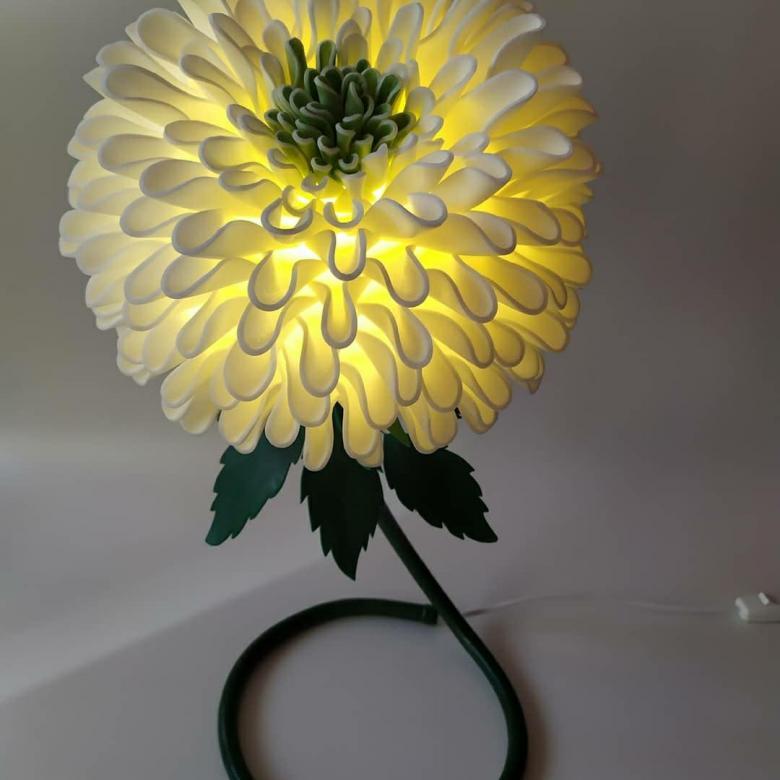
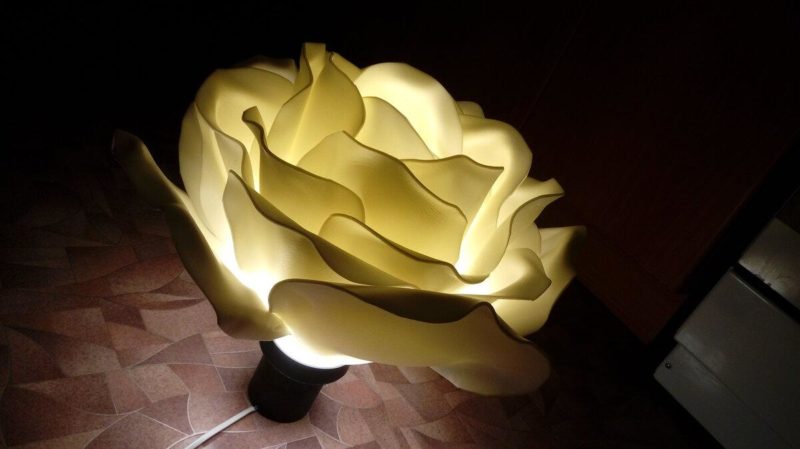
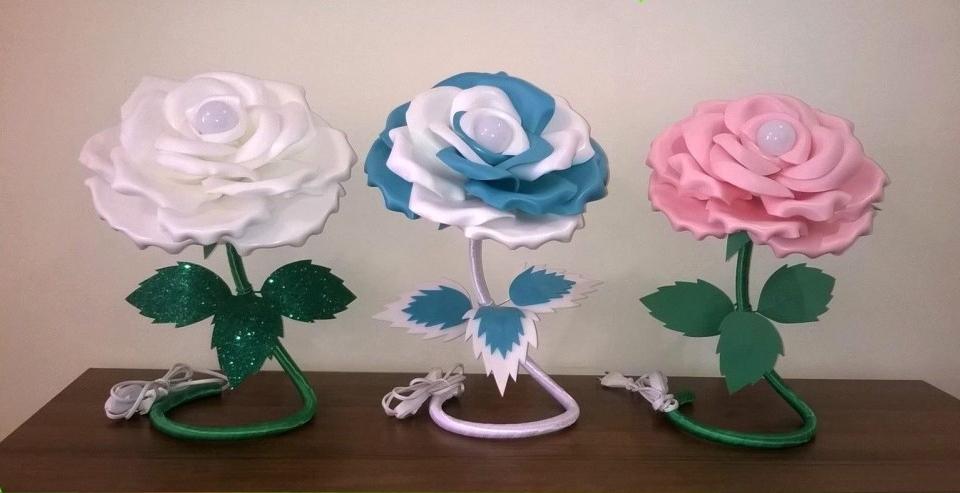
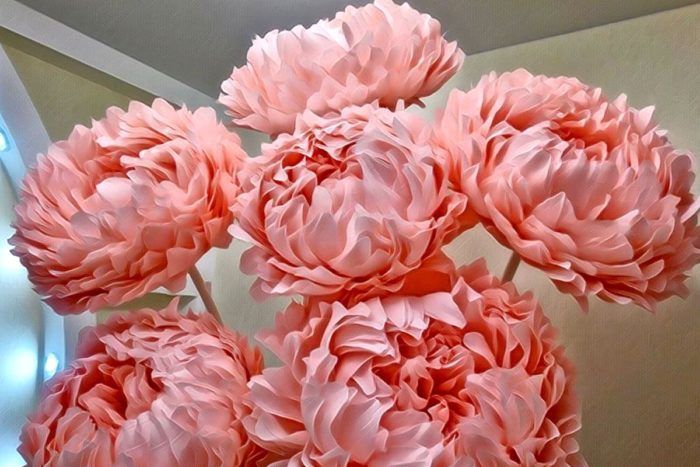
Examples of pre-made flowers
Many people refuse to make their own lights from isolon because they think that such a product looks much worse than the factory versions. But this is not so, even homemade flowers from isolon are able to decorate the house. As proof of this will serve as a photo of already finished flowers.