Homemade wooden light fixtures - detailed instructions
Chandelier made of wood is capable of becoming a decoration of almost any interior. Also the materials for the chandelier can be thin boards, wooden beads and even branches. And you can make it yourself. It is important to study the available popular options and do the work strictly according to the instructions.
Features of the material
Wood is usually used in furniture, flooring, small interior elements. But more and more often it began to be used for a light fixture. All because of the environmental friendliness. Wood is a completely natural material that does not emit harmful substances.
In addition, there is a psychological aspect. It is believed that the more wood in the interior of the house, the better its owner will feel, he will be able to relax after work, rest.
Another peculiarity is that you can make a chandelier out of wood with your own hands. The material can be used to cut figures of almost any shape. Sometimes you may need special tools to work with wood, but sometimes you can cope with the most standard set.
Pros and cons of fixtures made of wood
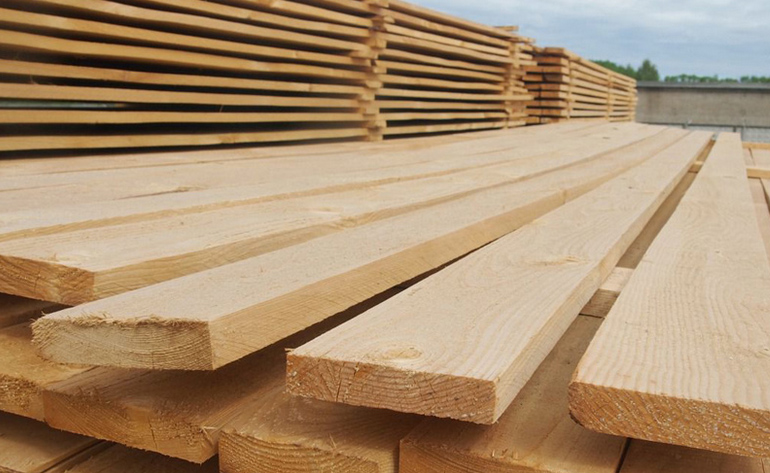
Chandeliers made of boards can be found not only on the ceilings of apartments and private homes, but also in restaurants, hotels and other premises. Wood is used to make wall-mounted structures, suspended and ceiling-mounted. This natural material is even used to make table lamps and nightlights. To understand why wood is so popular in this area will help to study the positive and negative sides.
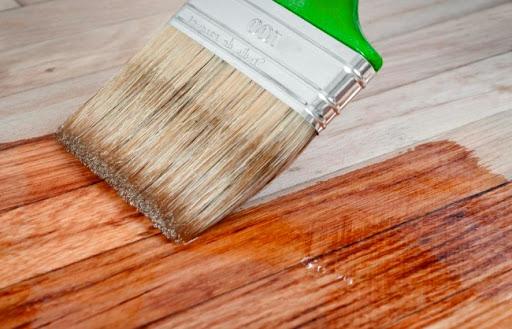
All these disadvantages do exist, but they can be eliminated or weakened by treating the wood with special varnishes. They will protect the material from moisture, pests, fire.
Application in various interiors
The versatility of the material, coloring in any color and combination with other materials opens up many possibilities in the matter of design. Wooden chandeliers are relevant in such styles:
- Retro. Make a light fixture like an antique will turn out of wood. The original version - the form of the wheel from the cart with lamps in the form of candles, located on the perimeter. Such design is relevant for country houses, hotels, restaurants.
- Country. Interior style, in which it is difficult to do without wood. Chandeliers of simple forms without additional framing will be suitable for this style.
- Provence .. Interior style with simple forms, but here additionally the construction will need to be painted in light colors. Apply small patterns of flowers, leaves can be used for decoration.
- Loft. In this style, wood of rough treatment, its combinations with metal and glass are popular. Basically dark colors are used.Chandelier in the loft style.
- Oriental. For such a light fixture you need solid wood. The main characteristics of design - strict shapes and lines, decor with oriental motifs.
- High-tech. For this style, wood will be only part of the design, it will have to be combined with metal, frosted glass, plastic.
What will be needed for the work
Depending on the design option, you need to prepare materials and tools in advance.
Tools and auxiliary elements
Of the materials will be required:
- Wood. This can be a beam, planks, branches or small strips.
- Fixing elements. The base is usually made of the same wood, additionally chains, hooks can be used.
- Cartridges and lamps.
- Additional materials. Some designs may require metal, glass, ropes or other materials.
Tools:
- Sandpaper on a bar. Necessary to sand the surface of the material.
- Drill with a feather nozzle. Necessary to make holes for cartridges.
- Brush. Used for the application of paint materials.
- Screwdriver.
- Tools for measuring and marking. Pencils, markers, rulers, and tape measures are used.
What lamps to use
LED and fluorescent light bulbs are best. You can also use incandescent or halogen bulbs, but in operation they are strongly heated, so they will be relevant in well-ventilated structures, for example in a gazebo, on the terrace.
Choice of wood species
Each type of wood has different properties, so you need to know what kind of wood lamp design will be before choosing. The main materials and their features:
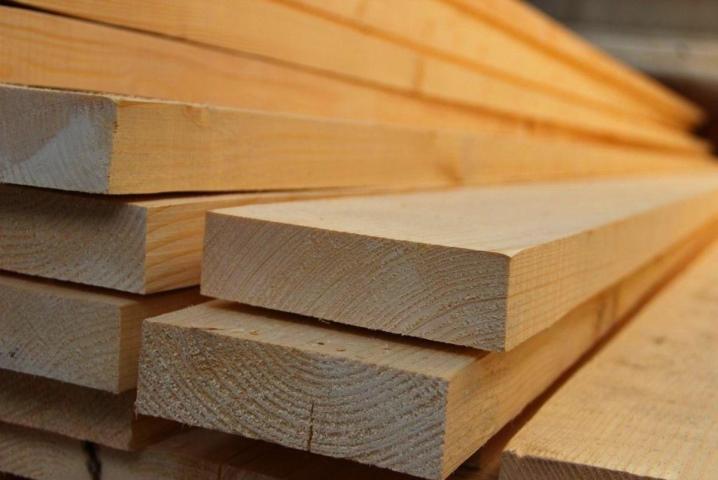
- Pine. It is well processed, but has an internal division, where individual circles are separated by resin. Therefore, this wood will not be suitable for small parts.Pine boards are suitable for large parts.
- Cedar. Another coniferous species, it has a high density, so it is used to make parts of all sizes. Cedar has an interesting pink hue, often used without additional coloring.
- Oak. High strength, but little resistance to splitting. This wood is difficult for beginners to work with.
- Deciduous trees. Have high strength, can be used for processing parts of any size and complexity.
Blueprints
One option is to use ready-made drawings. The advantage is in saving time and in the fact that there are examples of finished products.
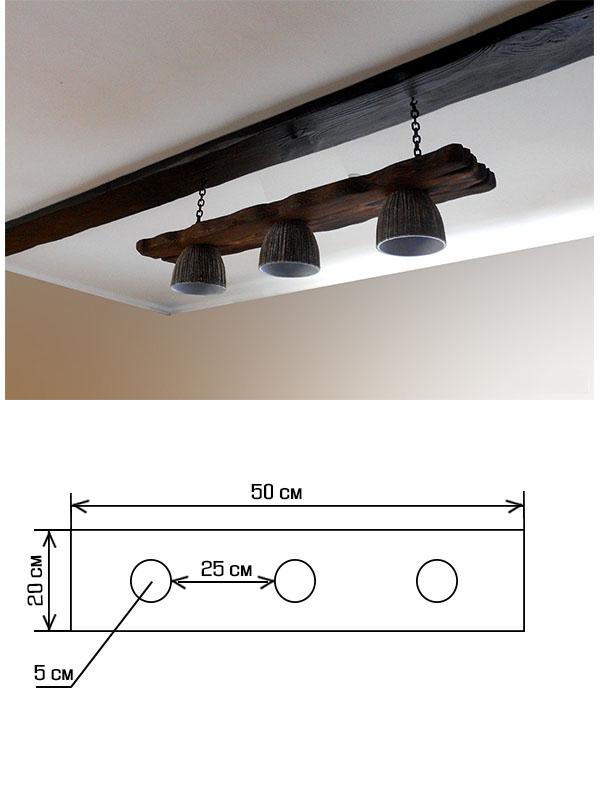
The second option is to use your own drawing. This is how you can make a self-designed light fixture. The scheme must necessarily show the dimensions of the design, the places for the bulbs, the length of the step between them.
Original ideas for wooden crafts
The study of interesting ideas will allow you to figure out what kind of chandelier from wood to make for your home. When choosing, you need to rely not only on the beauty of the product, but also on the complexity of performance and the required materials.
A simple variant from a bar
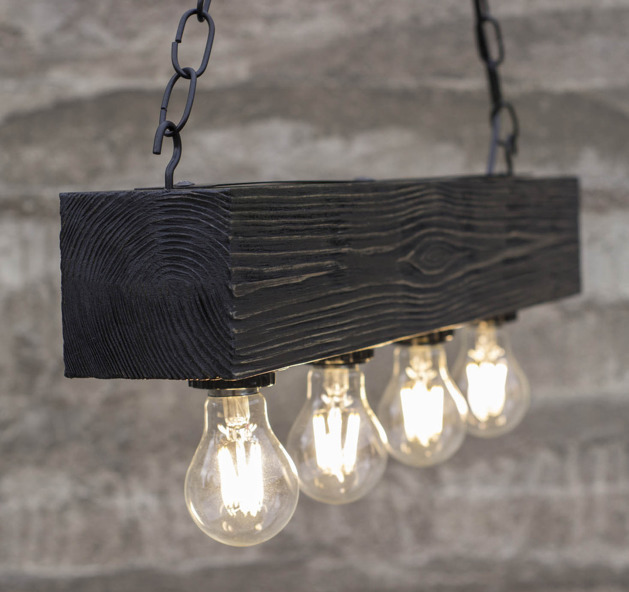
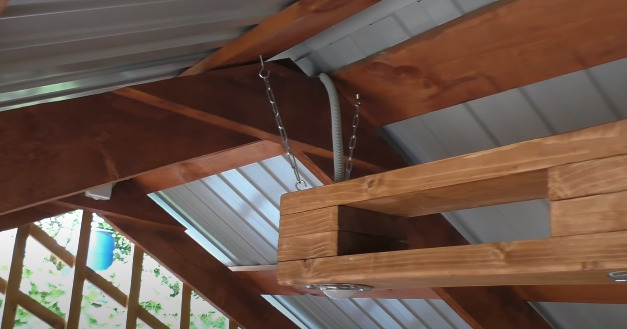
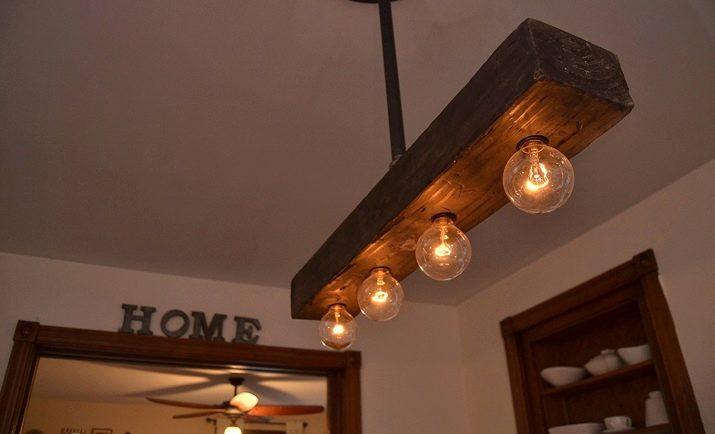
The simplest homemade light from natural wood will be the version with a minimum of details. A single bar or board is used as the body, on the surface of which holes are made for 3-4 bulbs. To fix it, you can use chains or a pipe, in it the wires will neatly hide.
Chandelier with an antique look
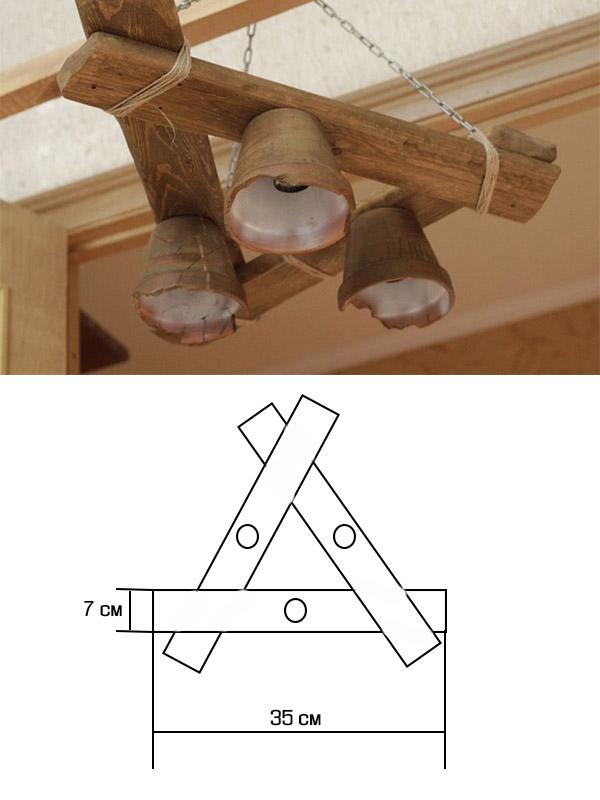
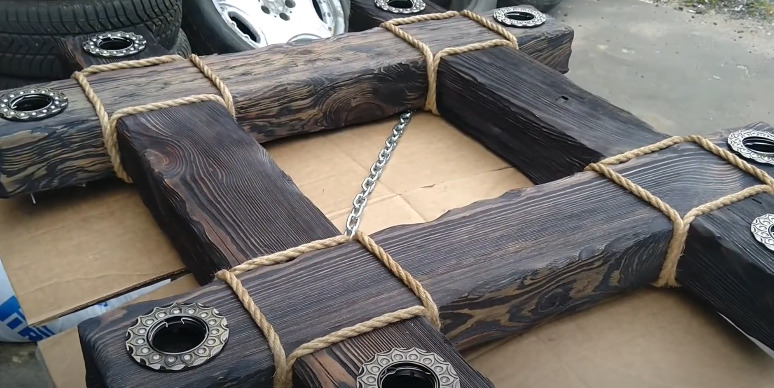
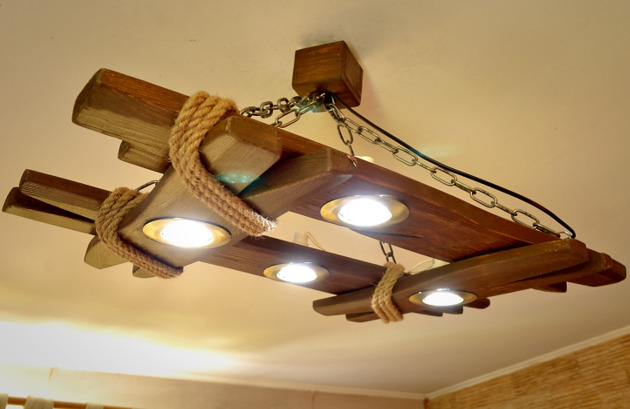
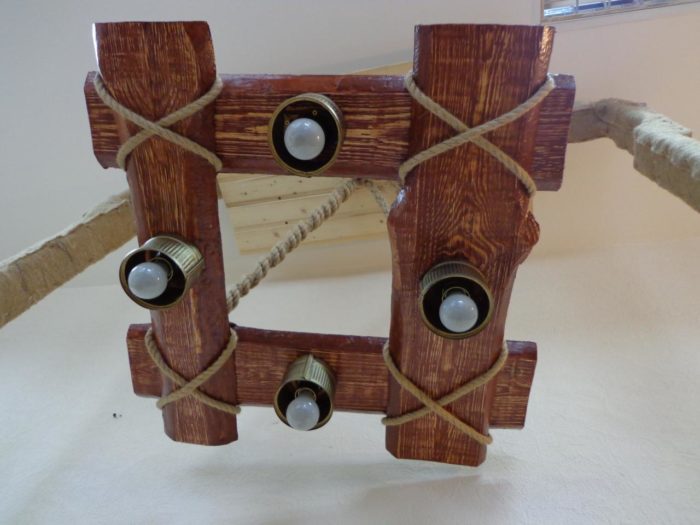
You can also do in the form of a wheel, but this is a massive lamp, will well decorate a restaurant, and in the house will look beautiful except in a large hallway. For the rooms, variants made of a combination of several natural-shaped boards will do. Additionally, the design is equipped with plafonds, decorated with ropes. Chains are used for fastening.
From the branches of trees
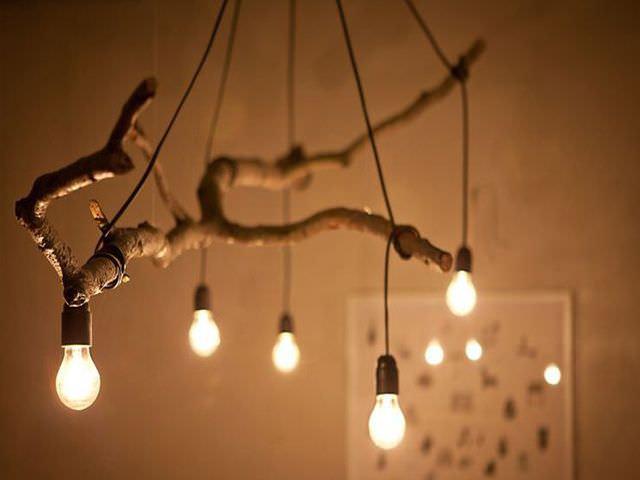
A good option - the use of pendant lamps, which are twisted around a branch. In such a design, the advantage is the ease of replacement, at any time you can throw away the old branch and hang a new one.
Wheel Chandelier
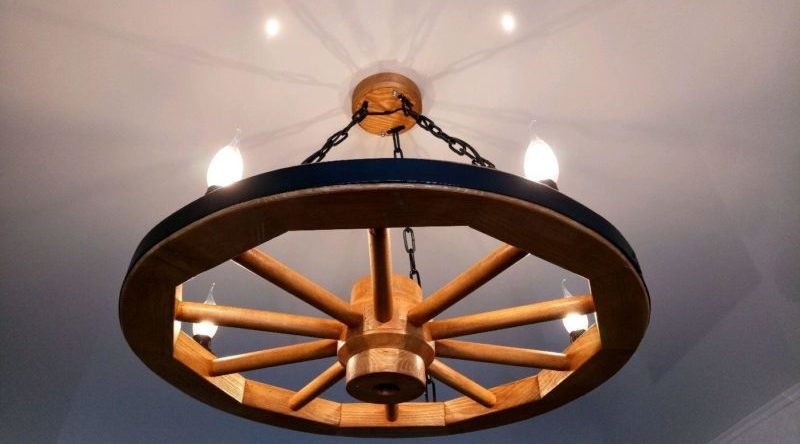
A more difficult version to execute, which will require carpentry tools. The chandelier consists of a central circle, spokes and a wheel rim. Chains are used for fastening. The lamps are installed in the form of imitation candlesticks, and can be placed both on top of the wheel and at the bottom.
Made of wooden beads
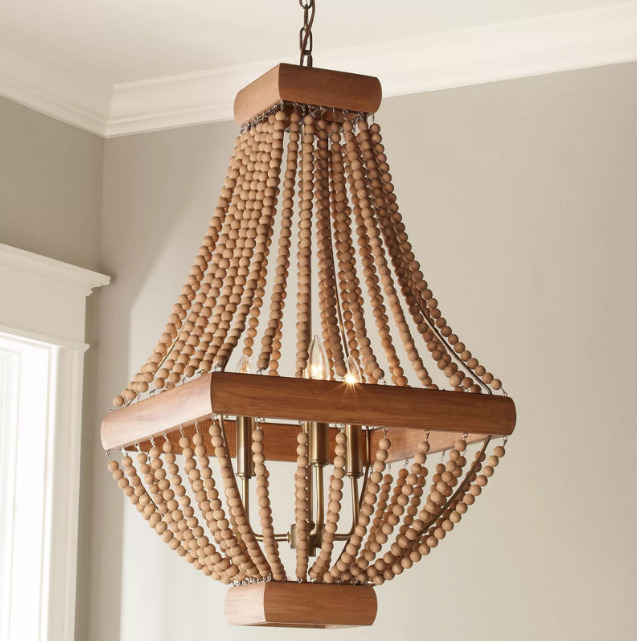
A beautiful variant, usually consisting of bases and elements giving the shape. The beads themselves are strung on a thread or vein. You can use both simply polished light beads and additionally paint them.
From slats
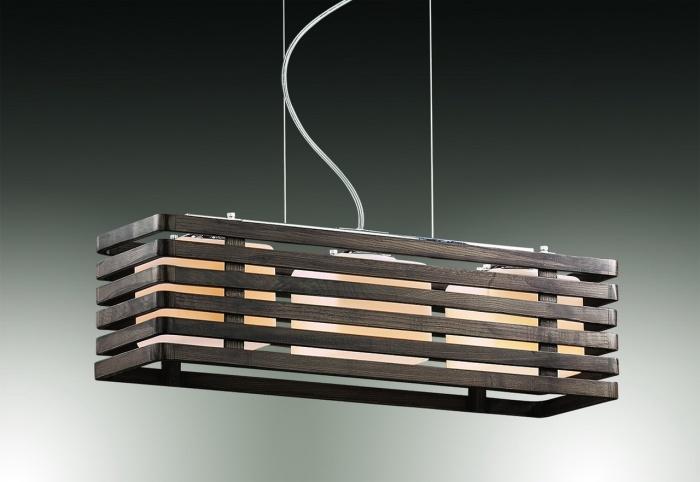
Not only a chandelier can be made of wooden slats, but also sconces, nightlights and other lighting fixtures. For the work you will need a lot of slats of a certain size, which are laid one after another, and the light will pass through the holes.
Loft
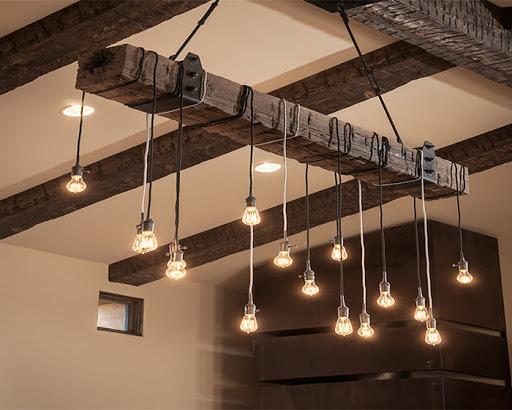
For the loft style, branded pendant lamps are great. They can easily be placed on a wooden base. Not only solid timber is suitable here, but also boards of small thickness.
From a LED panel
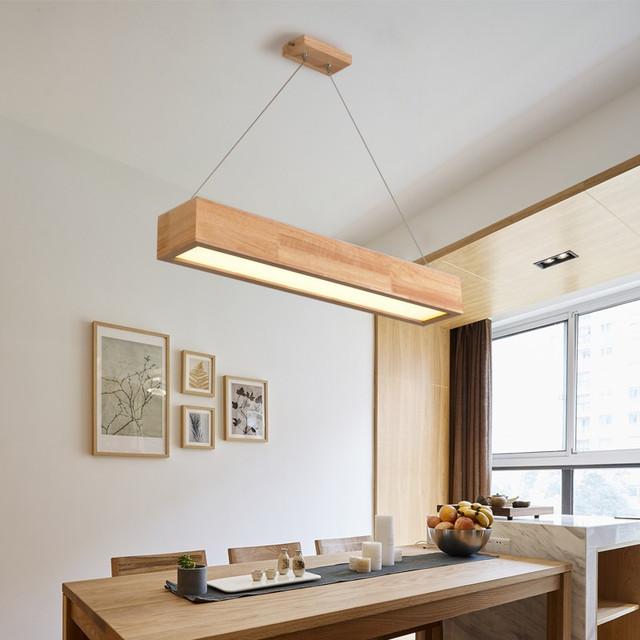
In this chandelier, a body is made of wood, inside which LED panels are installed. You can make large pendant designs of this type, but they will only be suitable for rooms with high ceilings.
In the video collected unusual ideas of wooden lighting fixtures for the house.
Step-by-step process of making lighting fixtures
In the form of a pallet
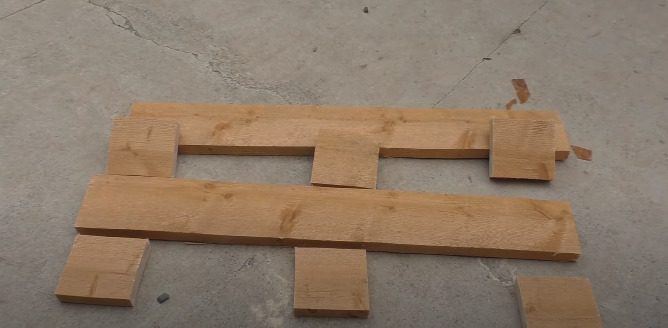
The simplest lamp made of wood is made from one or two boards. The instructions show a slightly improved version with a shape like a pallet leg.
Step-by-step execution of the work:
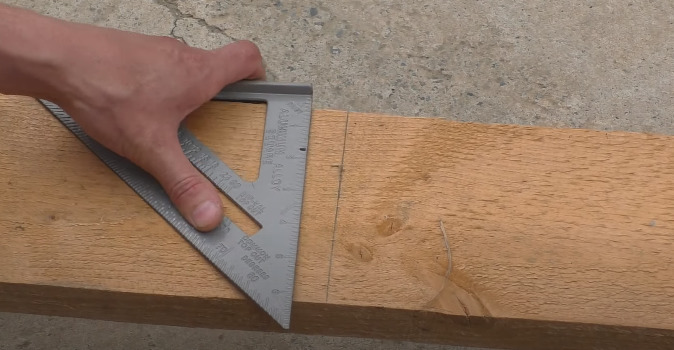
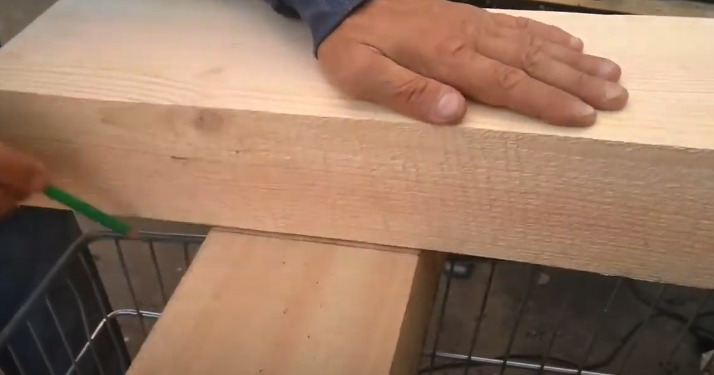
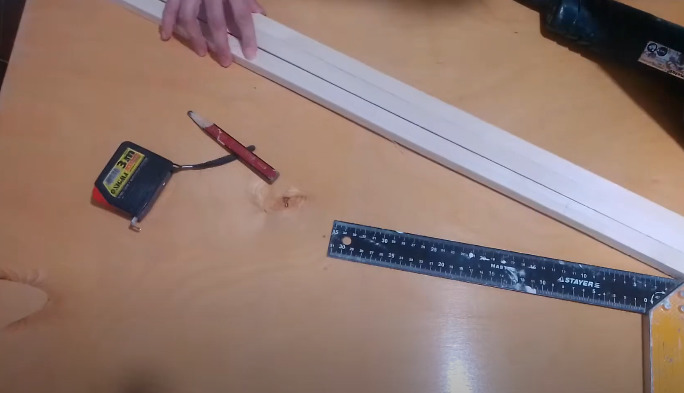
- Making a diagram and measuring the boards.
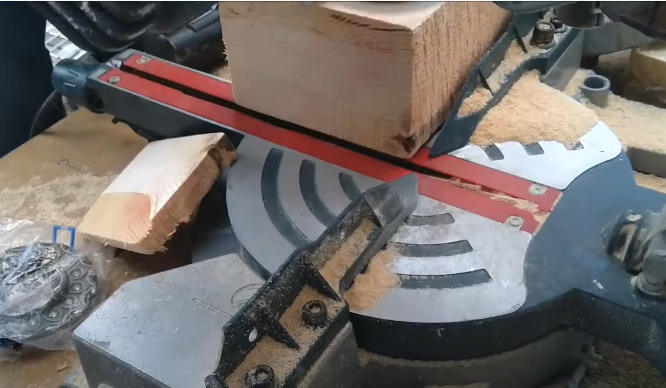
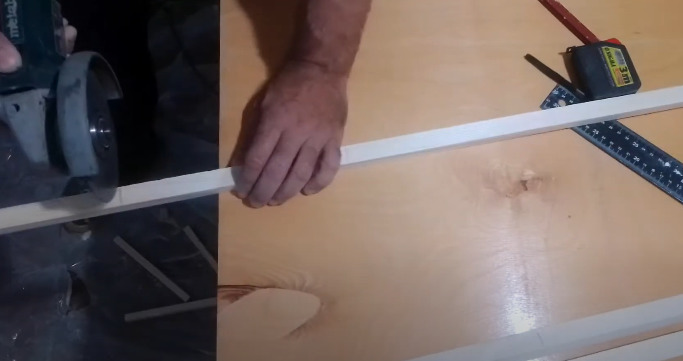
- Next, you need to cut two identical boards and 6 small square-shaped elements.
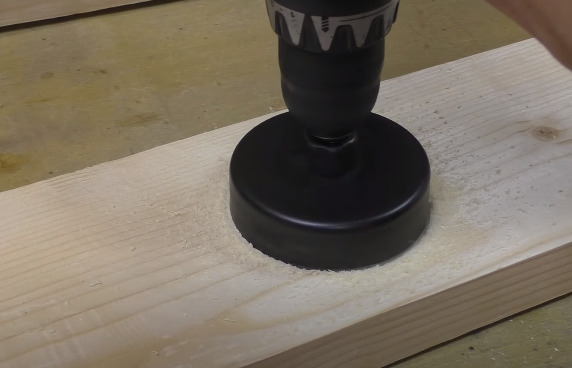
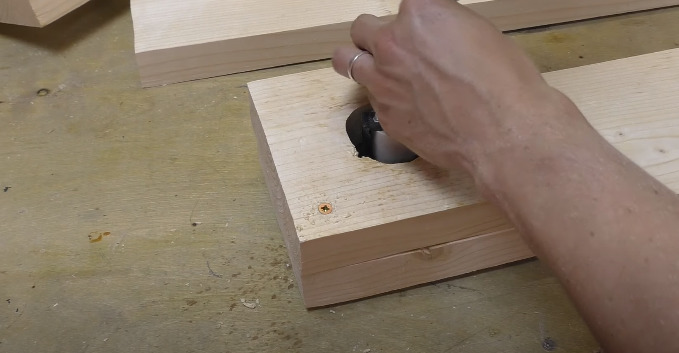
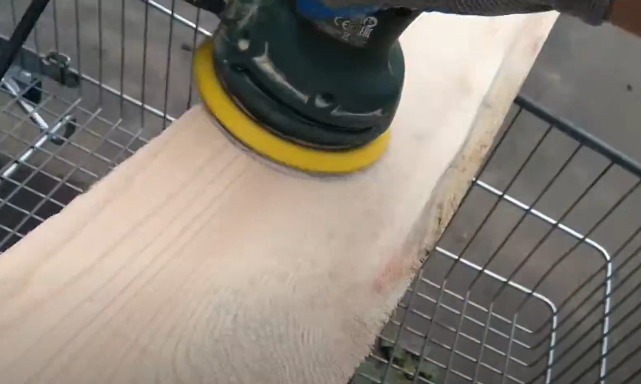
- After that, the material should be sanded, drill holes in it for the cartridges.
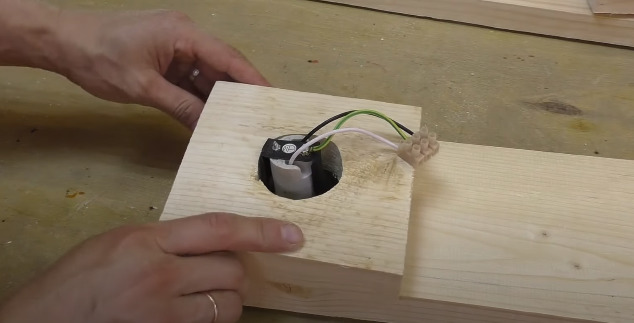
- The cartridge is inserted into the construction.
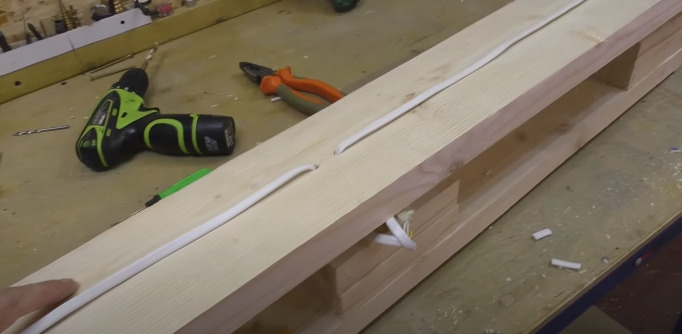
- Everything is fastened with screws.
- A wire is attached to the upper board, which is connected to the lower board through the holes.
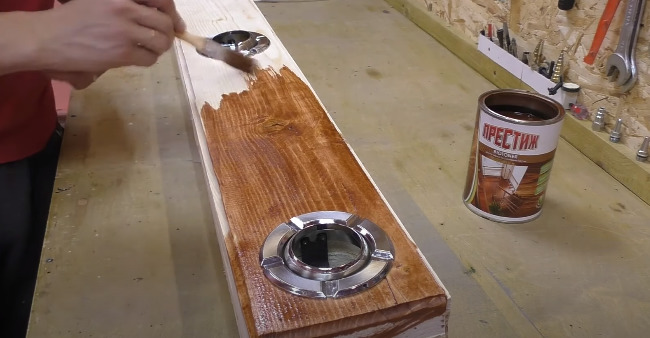
- The assembled construction is coated with paint and varnish materials.
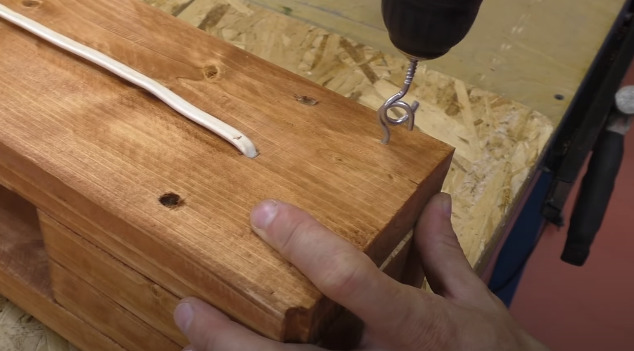
- Next, it is necessary to screw the fastening elements, in this case it is the hooks.
- The chains are attached to the hooks, the light bulbs are screwed in, the electricity is connected. The lamp is ready for use.
Retro-style
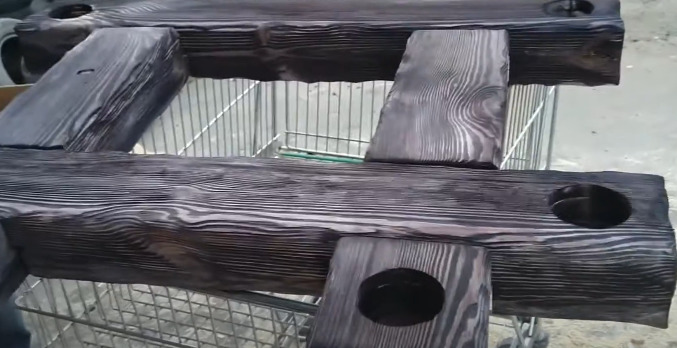
Massive light fixture under the antique style can be made of pine beam. The design does not include small elements, so pine would be a great choice.
Instructions:
- The timber is cut to the necessary dimensions.
- The wood is sanded.
- The construction is put together, all dimensions are checked, the entry points of the upper bars are marked on the lower bars.
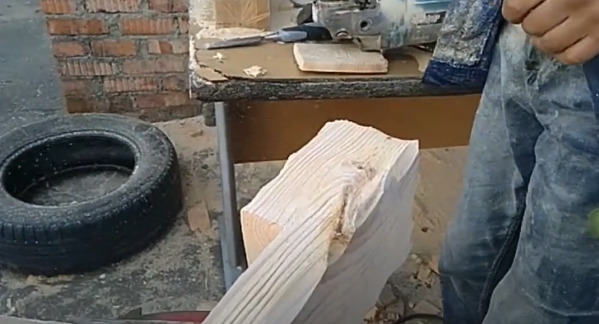
- According to the previously made markings notches are made in the bars.
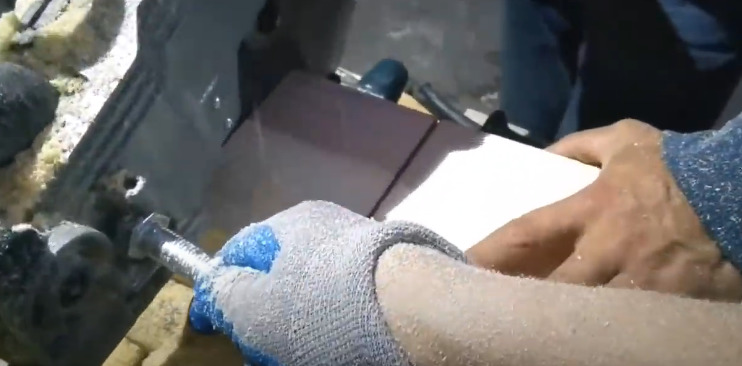
- Using sharp tools, the shape of the product is given.
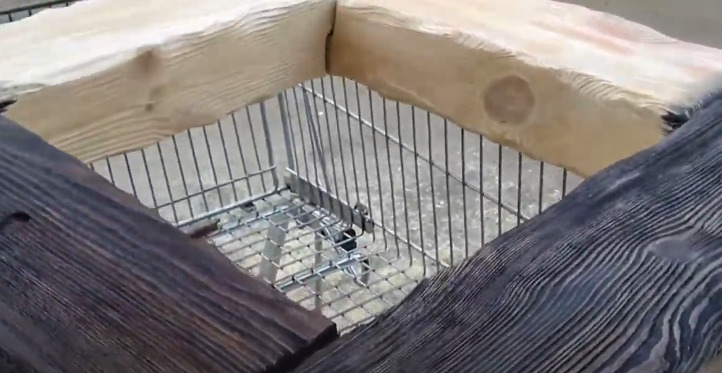
- The elements are put together like a construction set so that the protrusions fit into the grooves. After that, the bars should be coated with paint materials.
- Next, it is necessary to make holes for light bulbs.
- It remains only to insert the sockets, and connect the electricity. Additionally, metal framing of the bulbs and a rope can be used to decorate the design.
Eastern design
The design from slats will fit perfectly in oriental styles, it is a little longer to make, because it consists of small parts, but the result will please.
Instructions:
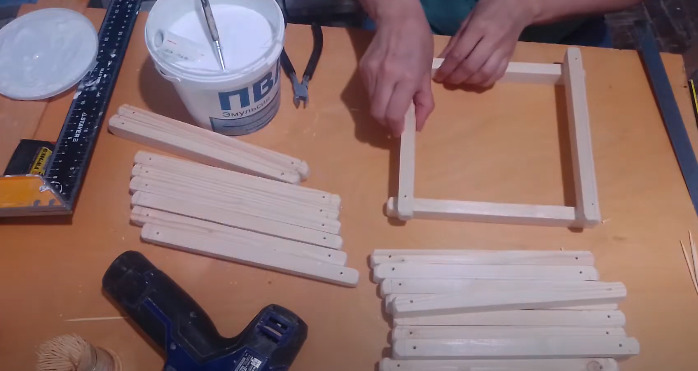
- On long wooden bars are marked sections, long 22 cm.
- The next step is to cut the material according to the previously marked segments.
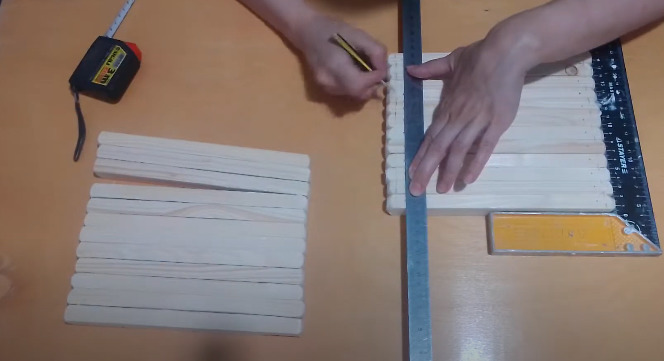
- After that, sanding each slat individually. Then, on their surface, places for holes are marked, in which the connecting elements in the form of toothpicks will be located.
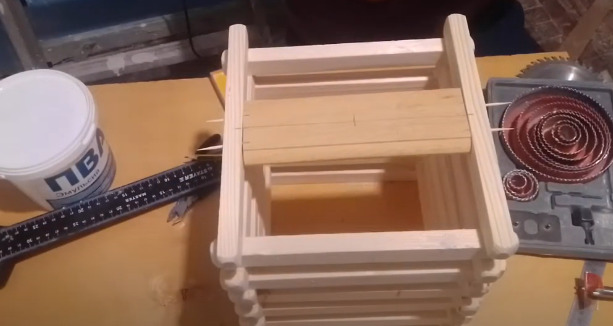
- Toothpicks should be soaked in PVA glue, inserted into the holes, install the next two strips, but on the other side.
- In this way the entire body of the lamp is assembled, to the top layer is attached an additional slat, in which the place for the cartridge is marked.
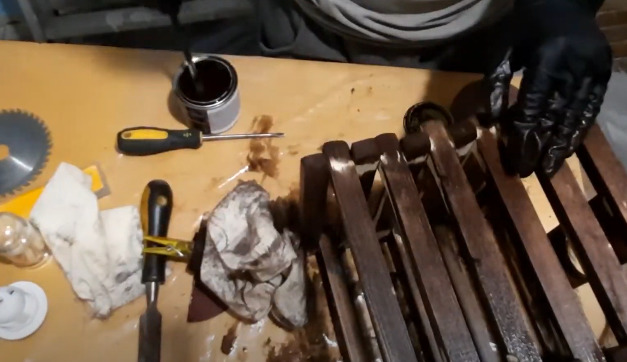
- Coating the wood with stain.
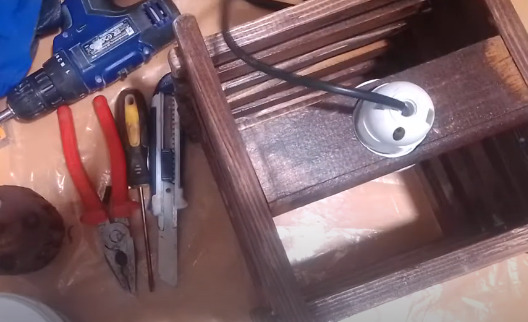
- After coating with varnish, it is necessary to insert the cartridge, connect electricity.
- Suspension can be made from a small piece of wood and a rope, which is attached to the upper slat.
- As a result, the slats make an original and beautiful light fixture.
Care for wooden lighting fixtures
The greatest enemy of all sconces and chandeliers is dust. It should be regularly wiped with a special brush. Sometimes a light fixture also needs more thorough cleaning, but what is suitable for other materials - will not always suit the wood. It is about water and soapy solutions, they can deform wooden chandeliers. For them, it is better to use wet wipes followed by wiping dry or special polishes.
