How to attach an LED strip
LED strip helps make the interior of the room creative. With LED-lighting, you can get original effects on the walls and ceiling. It is also used for zoning spaces, creating spot lighting in rooms and highlighting furniture.
LED strips are popular for their simple installation methods - you don't need to be specially trained to figure out how to glue them. It is enough to determine a reliable way and have the tools. The most popular options among craftsmen are the use of tape, glue or liquid nails.
What you can glue LED-tape on: the choice of materials
There are 2 common ways to fix the LED strip on the ceiling, wall or other surface - double-sided tape and glue. In order for the lighting to hold reliably and not peel off, it is worth a good cleaning of the surface from dirt. Regardless of the base material, it should be degreased.
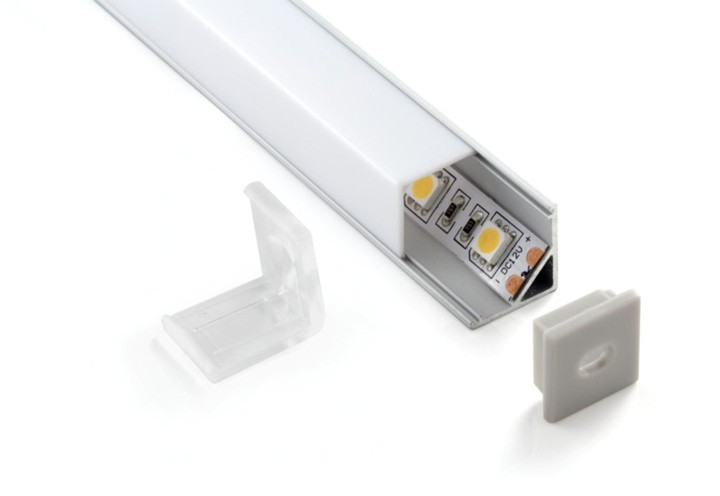
As fasteners, it is better to use a special aluminum profile, which is suitable for mounting any ribbon. The profile comes in different colors, and the smooth surface will serve as a reliable base for fastening. But the method is the most expensive. As an inexpensive alternative using cable channel.
Special tape for mounting
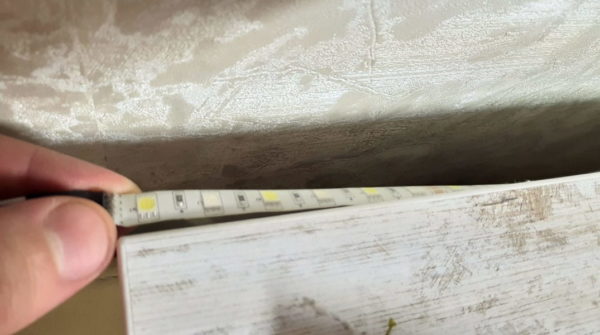
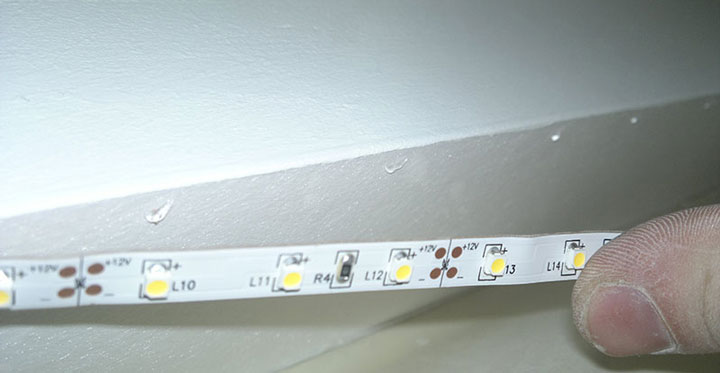
Not all LED lights are made with a sticky layer on the back, so if necessary to fix it on the ceiling or wall. Some models are made in a silicone tube, which provides protection from mechanical damage and contact with moisture. The only drawback is the inconvenience in the installation process.
The tape of the closed type is designed for installation with special fixators. But for the installation of lighting on the glass or a similar surface, the method is not suitable. There are two ways out. The first is to buy backlighting with a sticky layer. To install it, you just need to remove the paper from the sticky part and install the tape on the stripped surface.
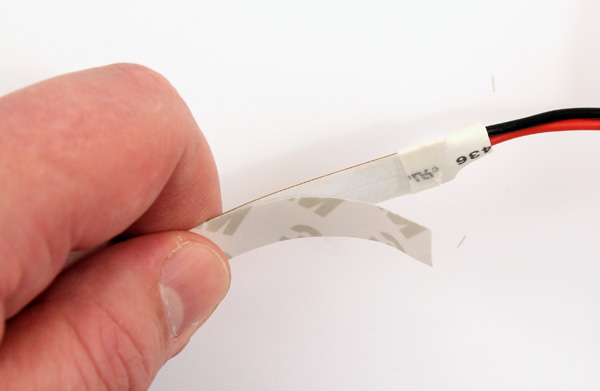
When the tape does not have an adhesive layer, you need to buy a thin double-sided tape. First you have to attach the tape, and then install the light on it if you are working alone. If you have a helper, it is more convenient to fix the tape to the tape first.
When using this method of attachment, remember that in the process the diodes get warm. This negatively affects the quality of adhesion of the tape to the surface, especially if it is glossy.
Tips for choosing glue
In the store you will not be able to find a special adhesive that is designed for the installation of LED tape, because it does not exist. Therefore, you will have to consider the feedback of people who have already experienced such work. The most reliable options are:
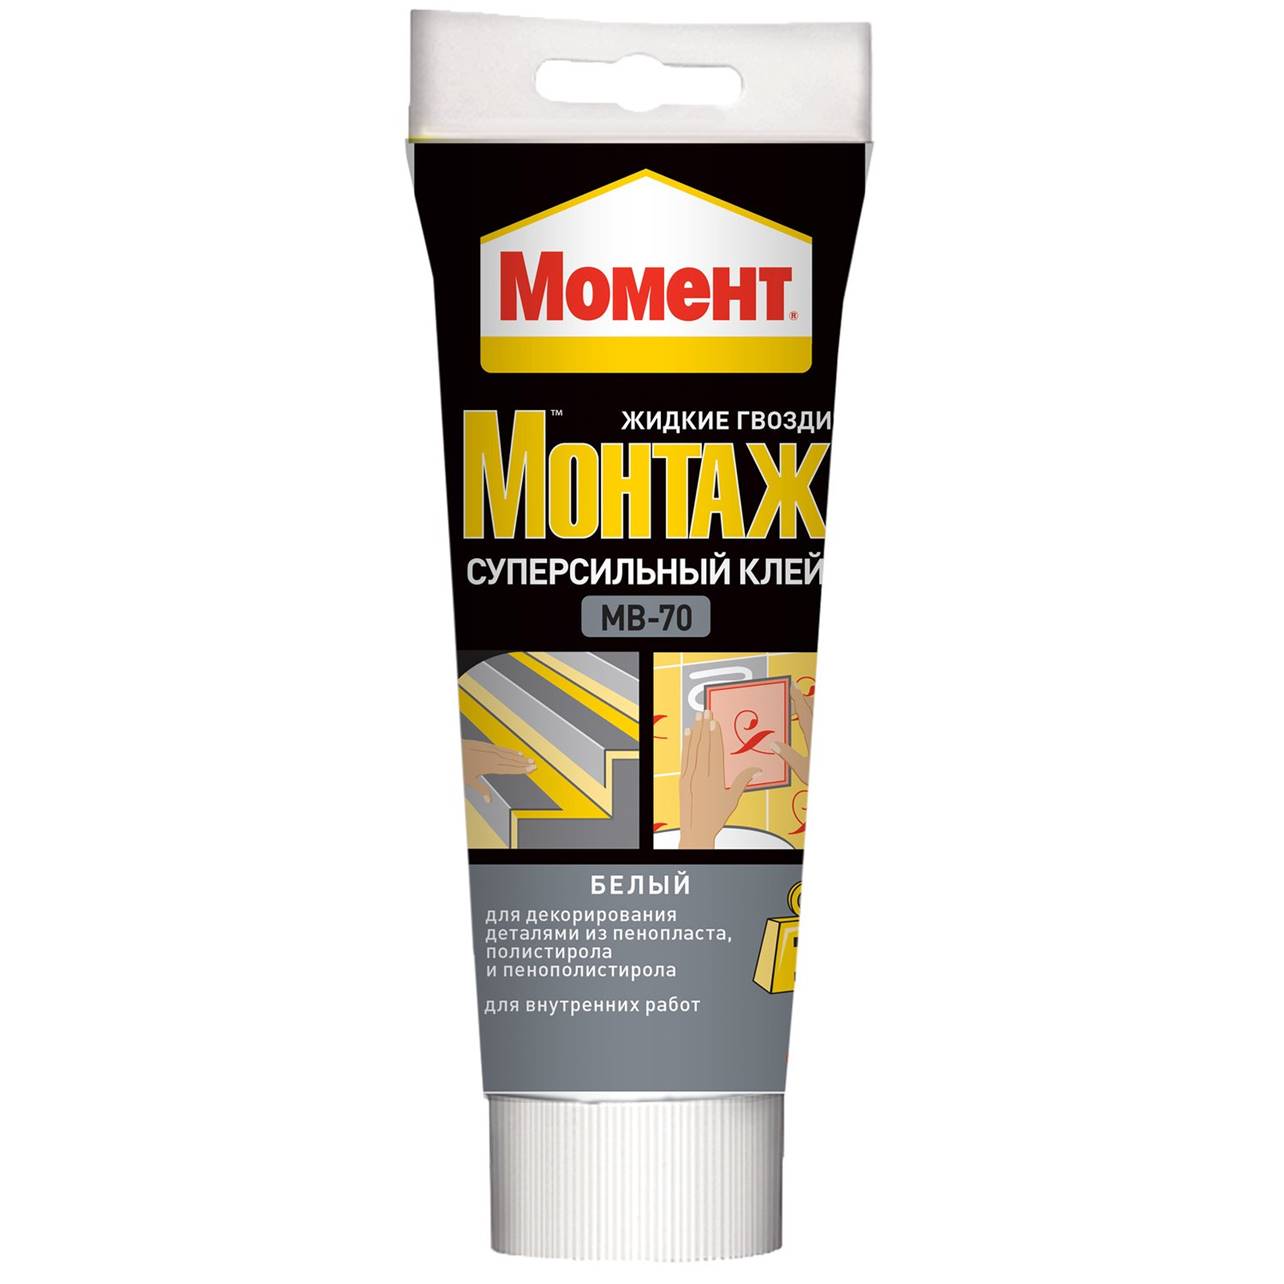
- "Titan" - liquid nails.. It is produced from a heavy-duty composition based on rubber. This glue is widely used in construction and installation work. It is well suited for mounting LED strip on stone, metal, ceramics, plastic and wood. When the composition dries, it will not be susceptible to high temperatures. There are varieties of liquid nails. For example, the adhesive "Moment Montazh MB-50". Used for chipboard, plastic, styropor, plaster, foam, metal, LDPE;
- hot glue gun. Thermal glue is one of the most reliable ways to attach LEDs. With his help, you can install the lights on the surface of metal, ceramic, plastic and wood. The only thing required of a specialist is a thorough cleaning and degreasing of the surface;
- universal adhesive "Super Moment" .. It is a high-temperature and moisture-resistant composition on a cyanoacrylate base. With its help you can fasten different types of plastic in a second. It is also good for mounting tape on metal, rubber, wood and ceramic surfaces.
Some craftsmen have a negative attitude to the idea of mounting the backlight on glue, because they believe that at high temperatures it can melt. Glue does not conduct heat, which is the main provocateur of overheating. This may be the case, but only if we are talking about high-power LED strips. If cyanoacrylate-based adhesive is used, it must be in the form of a gel, because it spreads, dries and absorbs into the surface immediately.
Aluminum scotch tape.
Method with the attachment to the aluminum tape will be appropriate if you install a powerful backlight, and there is little space on the surface to install a special profile. Using glue will not help to solve the problem of thermal conductivity. Using double-sided tape can only harm, as it will aggravate the heating at the expense of thermal insulation properties. Therefore, it is recommended to use aluminum tape.
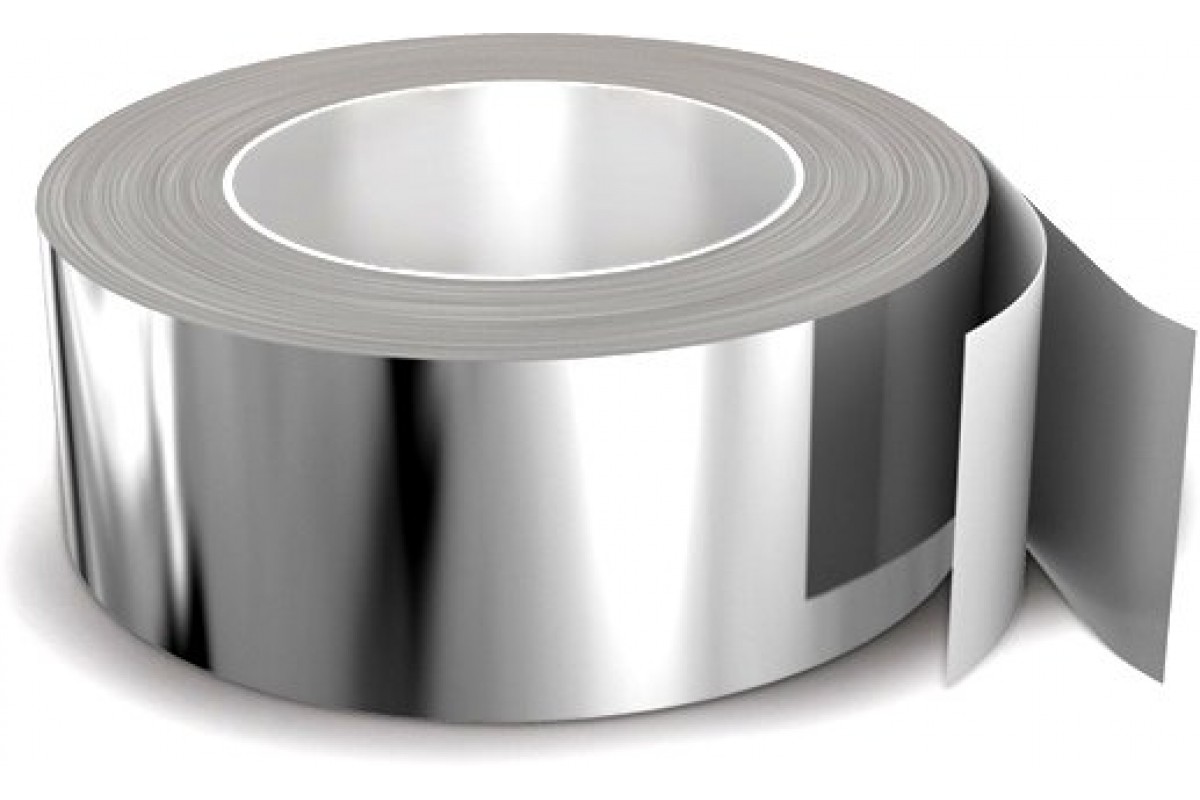
This tape is made for sealing ventilation ducts. But in some cases, it is indispensable for the installation of lighting. The method has a number of disadvantages, so masters recommend using it only in extreme cases. Once installed, the aluminum layer will serve as a heat sink, and adhesive can be used to hold the bases together.
Step-by-step instructions for gluing
If it is decided to mount the backlight on a double-sided adhesive tape, the following steps should be followed:
- Before mounting, wash the surface, wait until it dries, degrease. If it is not suitable for installation on the tape or glue, you will have to install a special profile.
- Gluing duct tape to the surface or tape.
- Installing the backlight.
- Alignment along the entire length.
- If the tape is installed evenly, you should press it well against the surface to ensure a secure adhesion.
If the backlight is installed on the adhesive, it is not necessary to apply it as a continuous strip along the entire length, it You can do it point by point, at intervals of 5-7 centimeters.. Gradually the tape is glued to each point until it dries.
Working with an uneven surface
There is no problem installing the tape on a curved surface, as it bends well and for installation you should follow the procedure described above. But if we are talking about porous or ribbed surfaces, it is recommended to prepare by installing special flat plastic or metal strips.
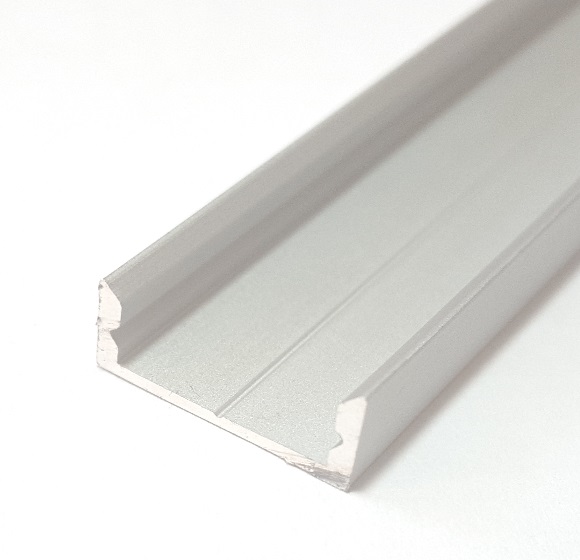
It is better to buy a strip made of aluminum. The material will provide a reliable grip, as well as act as a radiator for the removal of accumulated heat. If you can not buy a profile, the surface is primed and covered with a layer of varnish or paint to improve adhesion to the tape or glue.
How not to make mistakes
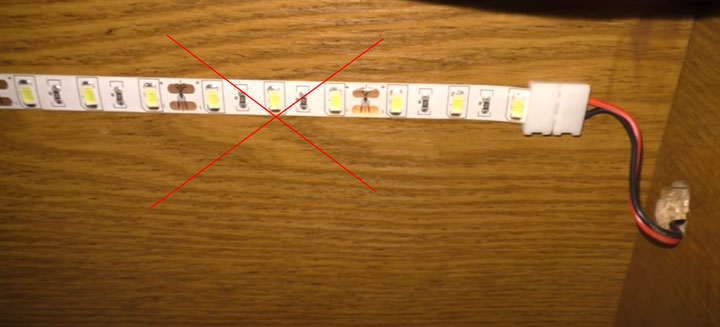
The main mistake a beginner can make is mounting a powerful LED strip without a profile. This will lead to overheating and failure of all LEDs. The backlight should not be mounted in this way on the cabinet, ceiling or walls.
Other mistakes include the following:
- Using a construction stapler for fastening. This can lead to mechanical damage to the LEDs;
- gluing the tape with glue directly to the aluminum profile. This will provoke a short circuit;
- the use of a profile made of plastic from the cable channel. This does not ensure heat dissipation, so after a while all the LEDs will fail;
- insufficient cleaning of the surface from dirt. Because of this, the strip will not last long and fall off.
Illustrative video example: How to attach the LED strip to the ceiling on the perimeter.
What to do if the tape peeled off
If the tape has peeled off and at the same time is under the profile, it is enough to remove the diffuser and gently glue it so as not to destroy the entire construction. If the light is almost completely glued, it is better to remove it, clean the surface and install it in the same or another way. The base should be well cleaned from the remaining glue.
To prevent this from happening again, it is recommended to use a better quality glue or tape. Masters give preference to "ZM" brand adhesives. The brand is a leader among manufacturers of adhesive compounds.