Ways to test LED strip for performance
[ads-quote-center cite='Mikhail Afanasyevich Bulgakov'] "The coziest thing is a kerosene lamp, but I'm for electricity!"[/ads-quote-center]
In recent years, the popularity of LED strips is just off the scale. You can find them everywhere. They are used for lighting and decorative purposes. Buy strip and power supply is easy. Everyone can check and troubleshoot, but how to do it and what you need, we are now going to find out.
Troubleshooting and testing
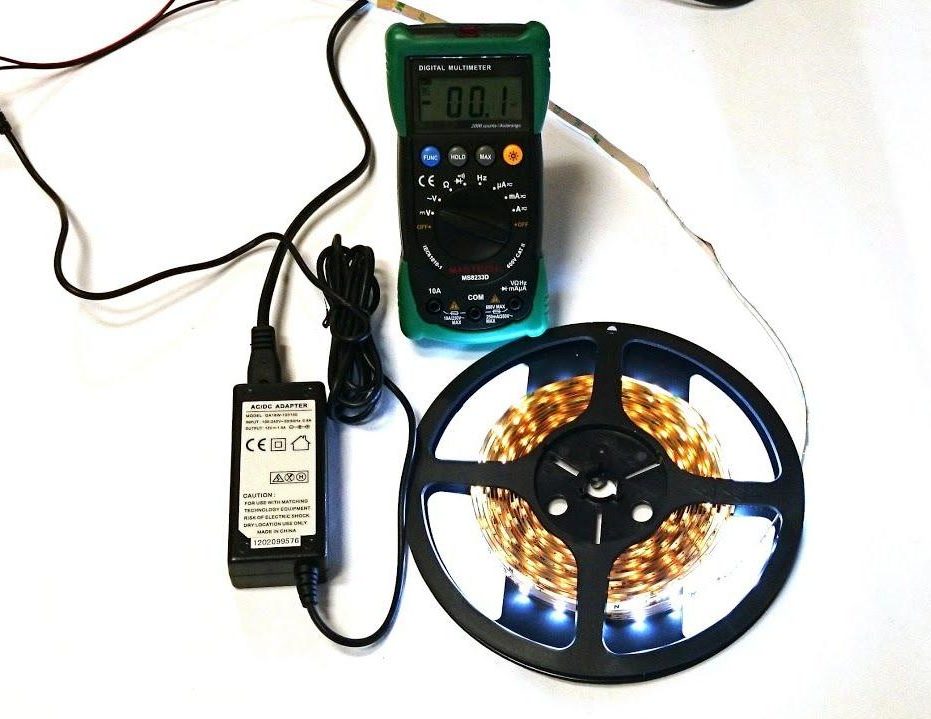
The most common strips are powered from the mains voltage of 12 volts, it is safe for humans. So, to check the LED strip, we will need: a strip, a power supply to it, a tester and a little time.
Power supply
"To begin with, you have to find the beginning."
Testing any circuit is done in stages. It is recommended to start with the power supply, as it affects the performance in the first place. There are two types of power supplies:
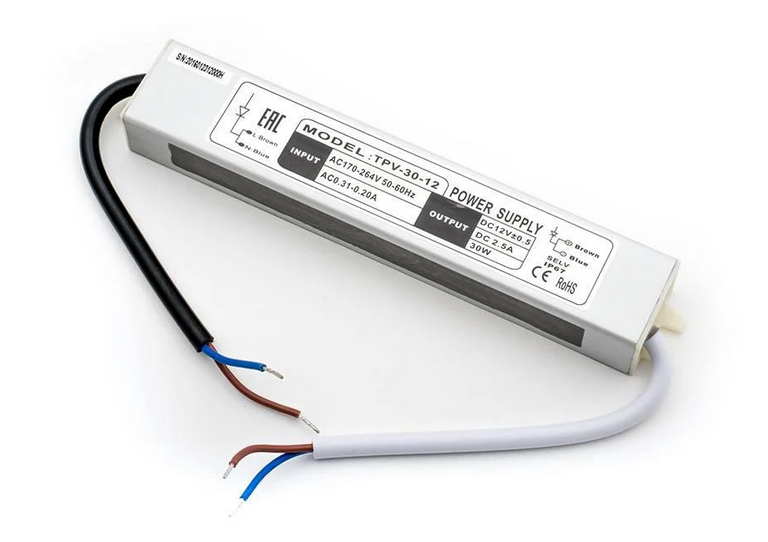
- Closed type. - have four wires, two of them are the input, which is an AC power supply from 220 V mains, and the output, also two wires. In the example photo, according to the connection diagram, you can see that the 220V AC power supply is connected on the left, and the 12V DC output is connected on the right, with the polarity indicated according to the color. Brown is +, Blue is minus. Pay attention to polarity!
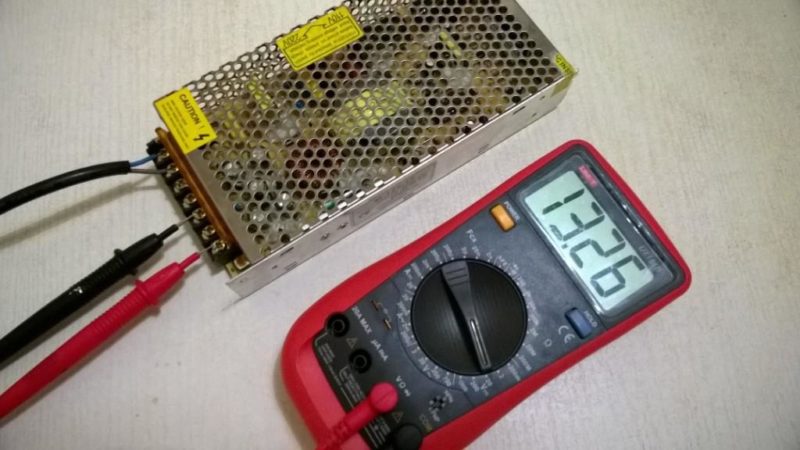
2. Open type - The connection is made with clips. Such power supplies are similarly labeled. In our case, pins 1 and 2 are AC 220V, pin 3 is ground, pins 4 and 5 are minus, pins 6 and 7 are plus.

To check the power supply set the tester in the AC voltage measurement mode, make sure that 220 V is coming (terminals 1 and 2), then switch to the DC measurement mode and make sure that the output (terminals 4 and 6) gets the necessary 12 V.
Please note that if the power supply breaks you are more likely to have to replace it, as repairs can be much more expensive.
Checking the serviceability of the power supply, we proceed to the next step - to check the LED strip with a multimeter.
Checking the strip
There are four types of possible faults:
- does not light up completely;
- Half of it doesn't light up;
- The whole strip is blinking or flickering;
- Blinking or flickering or no light in one part(s);
Above we have considered what the malfunctions could be, then we will consider them in detail.
Not lit completely
After checking the power supply check the wires: they might be damaged and the voltage to the tape is not coming in. Check the quality of the wire-to-tape connection, it may be done:
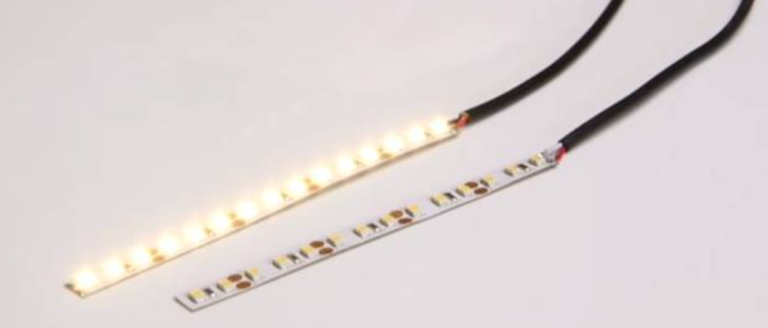
- By Soldering and may also be damaged.
![Ways of testing LED strips for efficiency]() Photo 05. soldering of the LED strip.
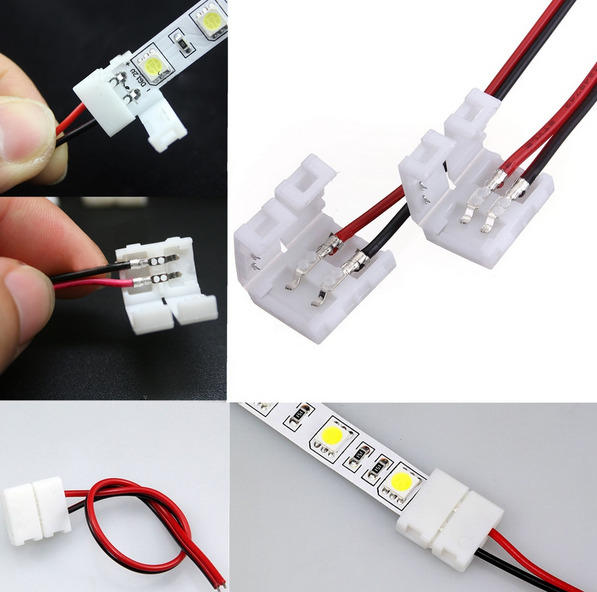
Photo 05. soldering of the LED strip. - With the connector.The contacts of which oxidize with time.
![Ways to test LED strips to check the LED strip for efficiency]() Photo 06. connecting connectors.
Photo 06. connecting connectors.

Remove any oxide residue and any mechanical damage. Do not short-circuit the contacts. Do not try to repair old connections, it is better to use new connectors - this will protect you and your premises from a short circuit. If all the connections are okay, the problem is in the ribbon itself.
The ribbon is flexible, but don't forget that it is based on a flexible circuit board that has a bending limitation, it can bend and break.. If this is the case, the board inside the ribbon may be damaged right after soldering, at the very beginning of the ribbon. Try applying voltage from the power supply to the following pins. These are located a little further away, at the locations of the cut tape. Observe the polarity (+,-). For this purpose it is convenient to solder alligators to the wires from the power supply, and clamp the needles in them.

Half of it is not working
This is a special case of the problem described above. Possible circuit breakage on the printed circuit board in the ribbon section. It is necessary to wire and remove the damaged section from the circuit. It can also be determined by checking the voltage, on the cells in series, one after the other, on each contact. Make the connection carefully. Use junction contactors or a soldering iron. Remove any flux residues with alcohol.
Tape flashing or flickering
There could be several reasons:
- The power supply is damaged - in this case, you can check the tape by connecting it to a working power supply. If the problem is solved, replace the power supply with a new one;
- If the power supply is good, check the DC wires in the "power supply - ribbon" section of the circuit, also pay attention to the connections, there may be a bad contact;
- if the power supply is normal, the contacts are also normal - the problem is in the section of the tape: the circuit of the printed circuit board is broken. Remove such a section. How to identify it is described above.
- LEDs have reached the end of their service life - replace the strip.
Individual parts are blinking, flickering, or don't light up
This is also a common problem. It can be caused by one of the LEDs in series in seriesThis is also a common problem caused by one of the LEDs in series or a resistor soldered in front of them.
Increased brightness of the strip is also the cause of this malfunction. In such cases, it is best to replace the damaged section of the strip. With good soldering iron skills, you can fix this problem yourself. Below we will tell you about it.
Checking an LED with a tester
LEDs have a lifespan, and they do fail at some point. Let's take a look at, How to test a LED.
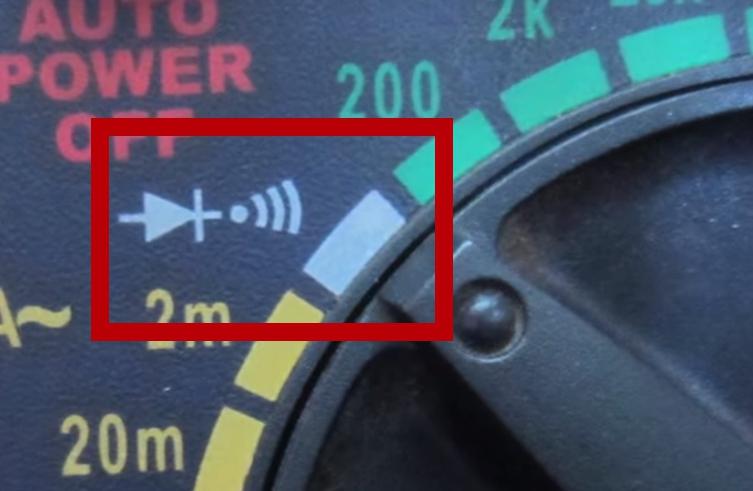
To test a unsoldered LED with a multimeter, you need to put the device in diode test mode:
- anode - the positive electrode, the red probe of the tester is connected;
- cathode - the negative electrode, connect the black stylus of the tester;
- on the display you will see the voltage drop;
- if you change the polarity there should be no voltage drop, these results tell us that the LED is in good condition.
How to test the LED on the board
The procedure for testing remains the same, the only thing you need - to make remote probes. If you do not have special adapters for removing the probes, then the socket for testing the LED perfectly become sewing needles. So we just make the adapter with our own hands.
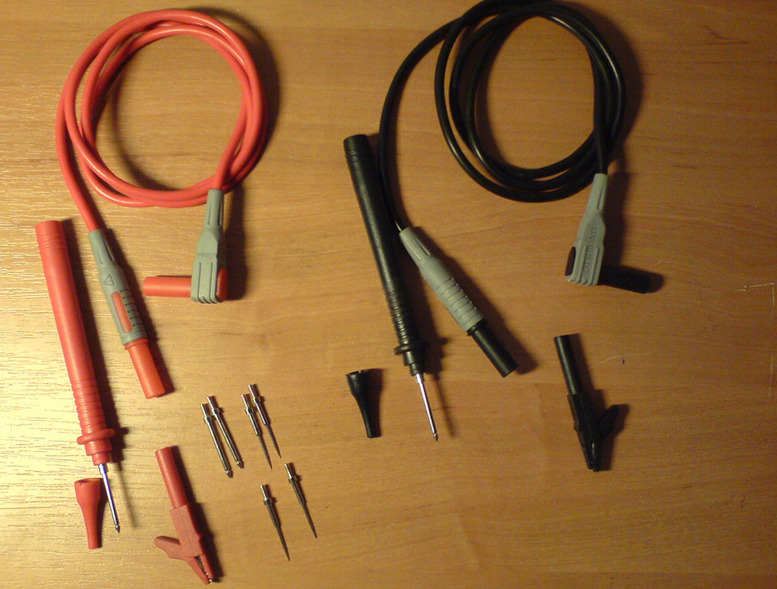
Making a probe with your own hands
You can construct a homemade device, which consists of two medical needles, wires and a battery. On each needle wind a wire, connect each end to the battery. Do not without unsoldering the LEDThe LED is working or not. Remember: any LED is powered by DC voltage, and therefore has a plus and minus. Observe polarity. An error does not put the LED out of action, but it does not light it either. A video of how to make the device I put below.
Home-made mini tester:
Differences between a 220V LED strip and a 12V
В LED strips are available on the marketwhich have a plug at one end and a small box - a diode bridge. This is what they are, tapes on 220 V, which are used mainly for outdoor decorative works. The cutting ratio of such a tape is 1 m. It uses a half-period rectifier, which is the vulnerable link in the circuit. These tapes are dangerous to people because the mains voltage reaches three hundred volts, so touching them is strongly discouraged.