How to repair energy saving bulb
The failure of an energy-saving lamp is always undesirable. Such equipment can be repaired with the exception of complex breakdowns. For a successful repair, you need to know the specifics of the particular circuit and how the light source works.
Principle of operation
Any energy-saving lamp consists of several components:
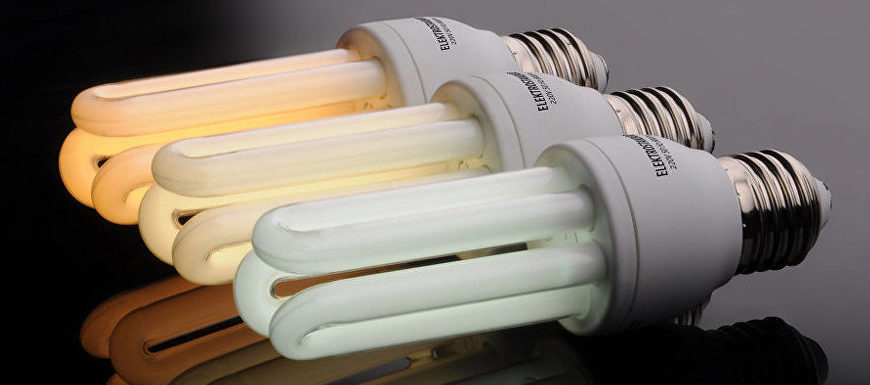
- The illuminating bulb with electrodes located inside;
- The base for connecting the lamp to the mains (can be threaded or pin);
- Control gear (electromagnetic or electronic).

In production, compact design is important, which is ensured by integrated electronic ballasts (EB or electronic ballast).
When voltage is applied to the circuit contacts, the electrodes inside the bulb begin to heat up. The electrons interact with the noble gas or mercury vapor inside the bulb. This creates a plasma that emits ultraviolet light.
To make the glow visible to the eye, the inside of the bulb is coated with a special substance - a phosphor. This coating absorbs ultraviolet light and gives off plain white light to the outside.
Diagram of an energy-saving bulb
Underneath the housing of an energy-saving bulb is the electronic circuitry control gear. It ensures the stable operation of the device, monitors the main characteristics and does not let the elements burn out before time.
The circuit includes:
- A starting capacitor that gives the starting impulse;
- filters for smoothing oscillations and radiofrequency noise in the network;
- capacitive filter that forms the final voltage;
- current-limiting choke to protect the circuit from overloading;
- transistors;
- current limiting driver;
- Fuse to prevent overloading of the circuit in case of mains voltage surges.


Possible causes
The ballast is an important component of an energy-saving lamp. The unit is sensitive to voltage fluctuations and may malfunction.
Voltage surges occur when there are faults in the power lines, high loads in the network, poor contacts in the socket or socket holder.
Fluorescent bulbs are best not used in enclosed luminaires with the bulb mounted downward. If there is no heat output, overheating of the equipment is likely.
Causes of failure of energy-saving lamps:
- unstable voltage (too low, too high or with variations);
- Fluctuations in the mains supply;
- overheating of the elements.
How to do the repair with your own hands
Repair the energy-saving lamp can be done with your own hands. A set of simple tools and basic knowledge in the field of electrical engineering will be needed.
Disassembly of the lamp
To disassemble the lamp, the base must be opened with a flat screwdriver. Unscrew the board from the base and test the pins.

It is advisable to prepare a wire with a plug in advance, so that you can apply voltage to the board at any time.
Locating Faults
After disassembly, carefully examine the bulb. If it has blackouts or burns, it is likely that the problem lies here. It is best to connect another bulb to the EB and test ..
If the bulb is okay, the problem is most likely on the ECG board. First check the fuse with a multimeter on the continuity test, as the first line of defense against circuit failure.
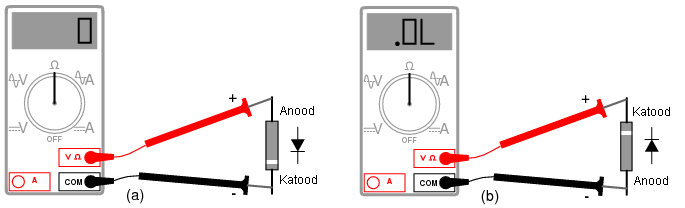
The diode bridge is checked with a multimeter. The probes are connected in series to anodes and cathodes of diodes. The screen of the tester should show numbers about 500 (with the reverse connection 1500). A value of "1" indicates a diode breakage, and the same values in both directions indicate a breakdown.

If the board has a blackened resistor in the emitter circuit, the transistor is probably burnt out. It can be tested on the board without restriction. However, a better option would be to unsolder it and check it with a diode check.
Inspect the capacitor. If the element is cracked or blown, it should not be used further. Without visible damage, you can determine the malfunction with a continuity test. There should be no short circuit between the terminals.

You can check the capacitor by measuring the voltage. The reading should be about 310 V with an amplitude voltage of 220 V. Significant deviations indicate a problem in the circuit. Replacing the capacitor will help restore the lamp's performance. Do not use cheap Chinese analogs, they fail quickly.
When a voltage is applied to the board, a significant current flows through the diode bridge, which can cause elements to burn out. To solve this problem, a current-limiting resistor is used. In expensive lamps, a thermistor performs this function. If the element fails, the breakdown of diodes and the device as a whole is a matter of time.
Repair and assembly of the lamp
Faulty elements Desolder and replace with other elements. You can use parts from other broken energy-saving lamps, first making sure that they are in good working order.
For example, in one bulb burned out filament, and in the other broke the ballast. Then no separate elements will have to be soldered to the board. It is enough just to combine the faulty bulb and the EB into one device.
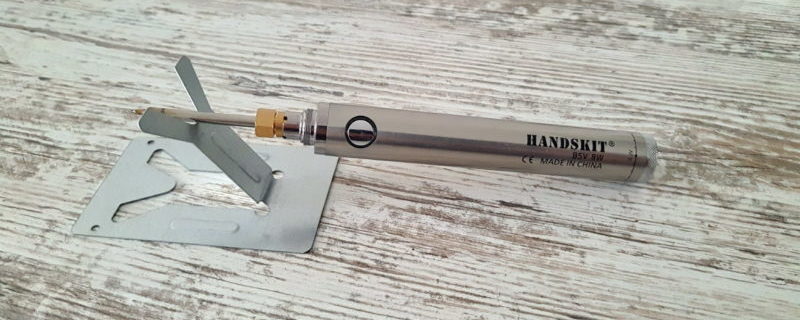
If you need to re-solder individual circuit components, use a soldering iron. The regular sting in this case is too big, so wind a copper wire with a cross section of about 4 mm on it.
You can't wire the diodes directly on the board is not possible. They can be checked only after complete removal of the elements from the board. If you find a fault, select a new version according to the characteristics.
Before reassembling the case check the functionality of the circuit. If the device lights up and does not flicker, you can continue with the assembly.
Repairing an energy-saving bulb is not difficult and does not cost much. If the procedure is carried out regularly, buy a repair kit with a set of in-demand parts.

Safety precautions
Since the repair of energy-saving bulbs involves working with voltage, it is recommended to observe safety techniques:
- in the network must necessarily be a separating transformer;
- Use only tools with dielectric handles;
- When repairing, the person must stand firmly on the surface;
- It is advisable to turn your face away when applying voltage to the equipment to be tested;
- Protective gloves are not unreasonable.

Failure Prevention
Avoid breakdowns of energy-saving lamps will help to know the faults and keep track of the main indicators.
A short circuit inside the lamp can occur due to a factory defect or insufficient heat dissipation. In either case, the circuitry overheats during operation and the insulation layer breaks down. Eventually, some of the wires or contacts start to touch each other. It is desirable to provide all fixtures with sufficient ventilation and a well-designed heat dissipation system.
Video on the subject: 6 homemades based on an energy-saving lamp.
Often manufacturers in order to save money use not the highest quality components. This leads to a breakdown of the ballast. The fault will quickly manifest itself in conditions of significant voltage fluctuations. Therefore, it is better to equip the power supply network with a quality stabilizer.
The problem of burnout is not alien to energy-saving lamps. It cannot be corrected or prevented. You can only create a suitable environment without voltage fluctuations, frequent switching on and off, with a stable ambient temperature.